Navigating DeepAR Studio
The DeepAR Studio is a tool used to create effects for the DeepAR SDK on Mobile, Web, and MacOS.
Make sure you have downloaded and installed the latest version of the DeepAR Studio.
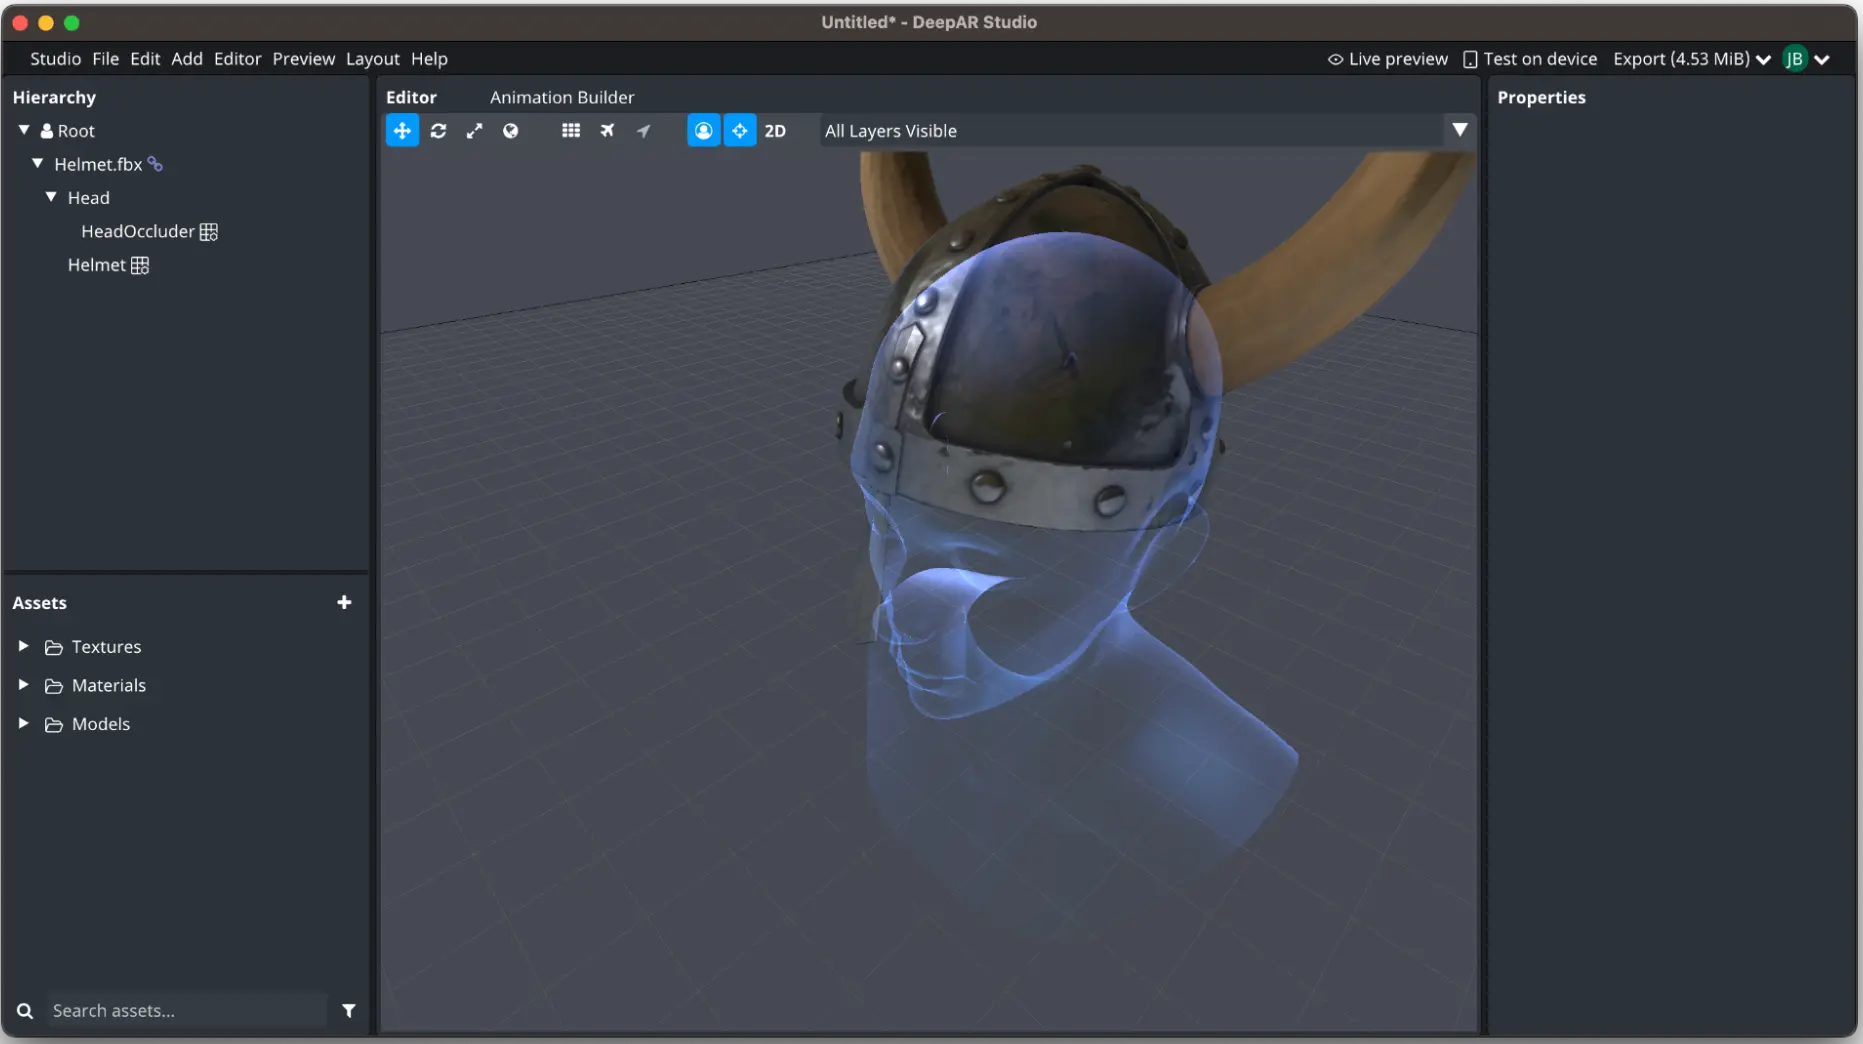
Below is a list of panels and UI elements of the DeepAR Studio. They will be referred to by the Panel titles.
Hierarchy
The node hierarchy panel provides a hierarchical view of model nodes. To edit certain properties of the node and meshes inside those nodes, the user needs to select the node in the hierarchy. A node doesn't necessarily have a visual representation in the scene, it can just be a container for other nodes and scene objects. Transform properties can be set on parent nodes to position a group of objects in 3D space.
Nodes can be moved to a different parent by dragging and dropping and renamed by double-clicking on the name. Usually, the leaf node elements are objects like meshes that are visible in the scene or bone objects belonging to a skeleton.
Nodes in the hierarchy will have icons to represent certain properties and attached components. For example, the Face icon on the Root node means that the effect is in face space, the chain icon means this node corresponds to a Scene in the assets, the grid icon means this node has a mesh attached, etc. For more information check Components.

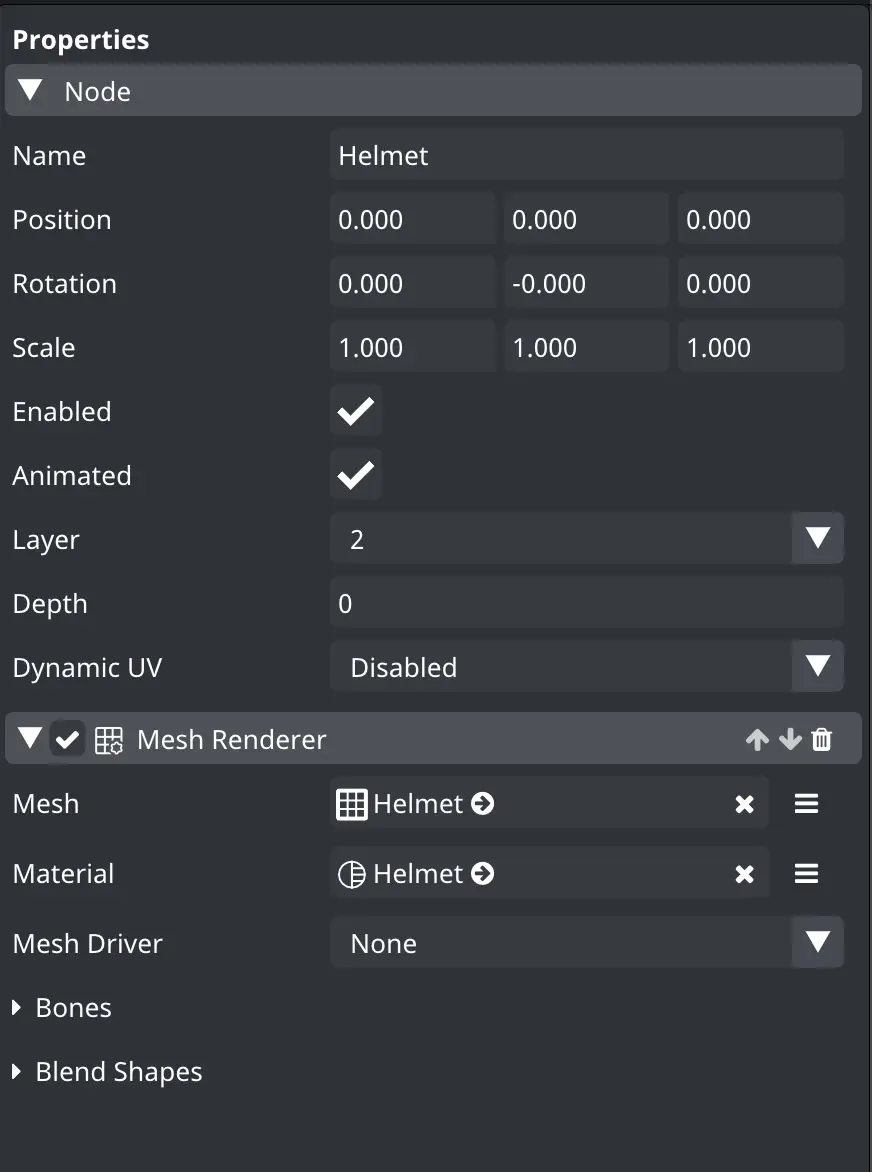
Properties panel
The properties panel will display the information and editable properties that pertain to a selected object, for example, a Node or a Material.
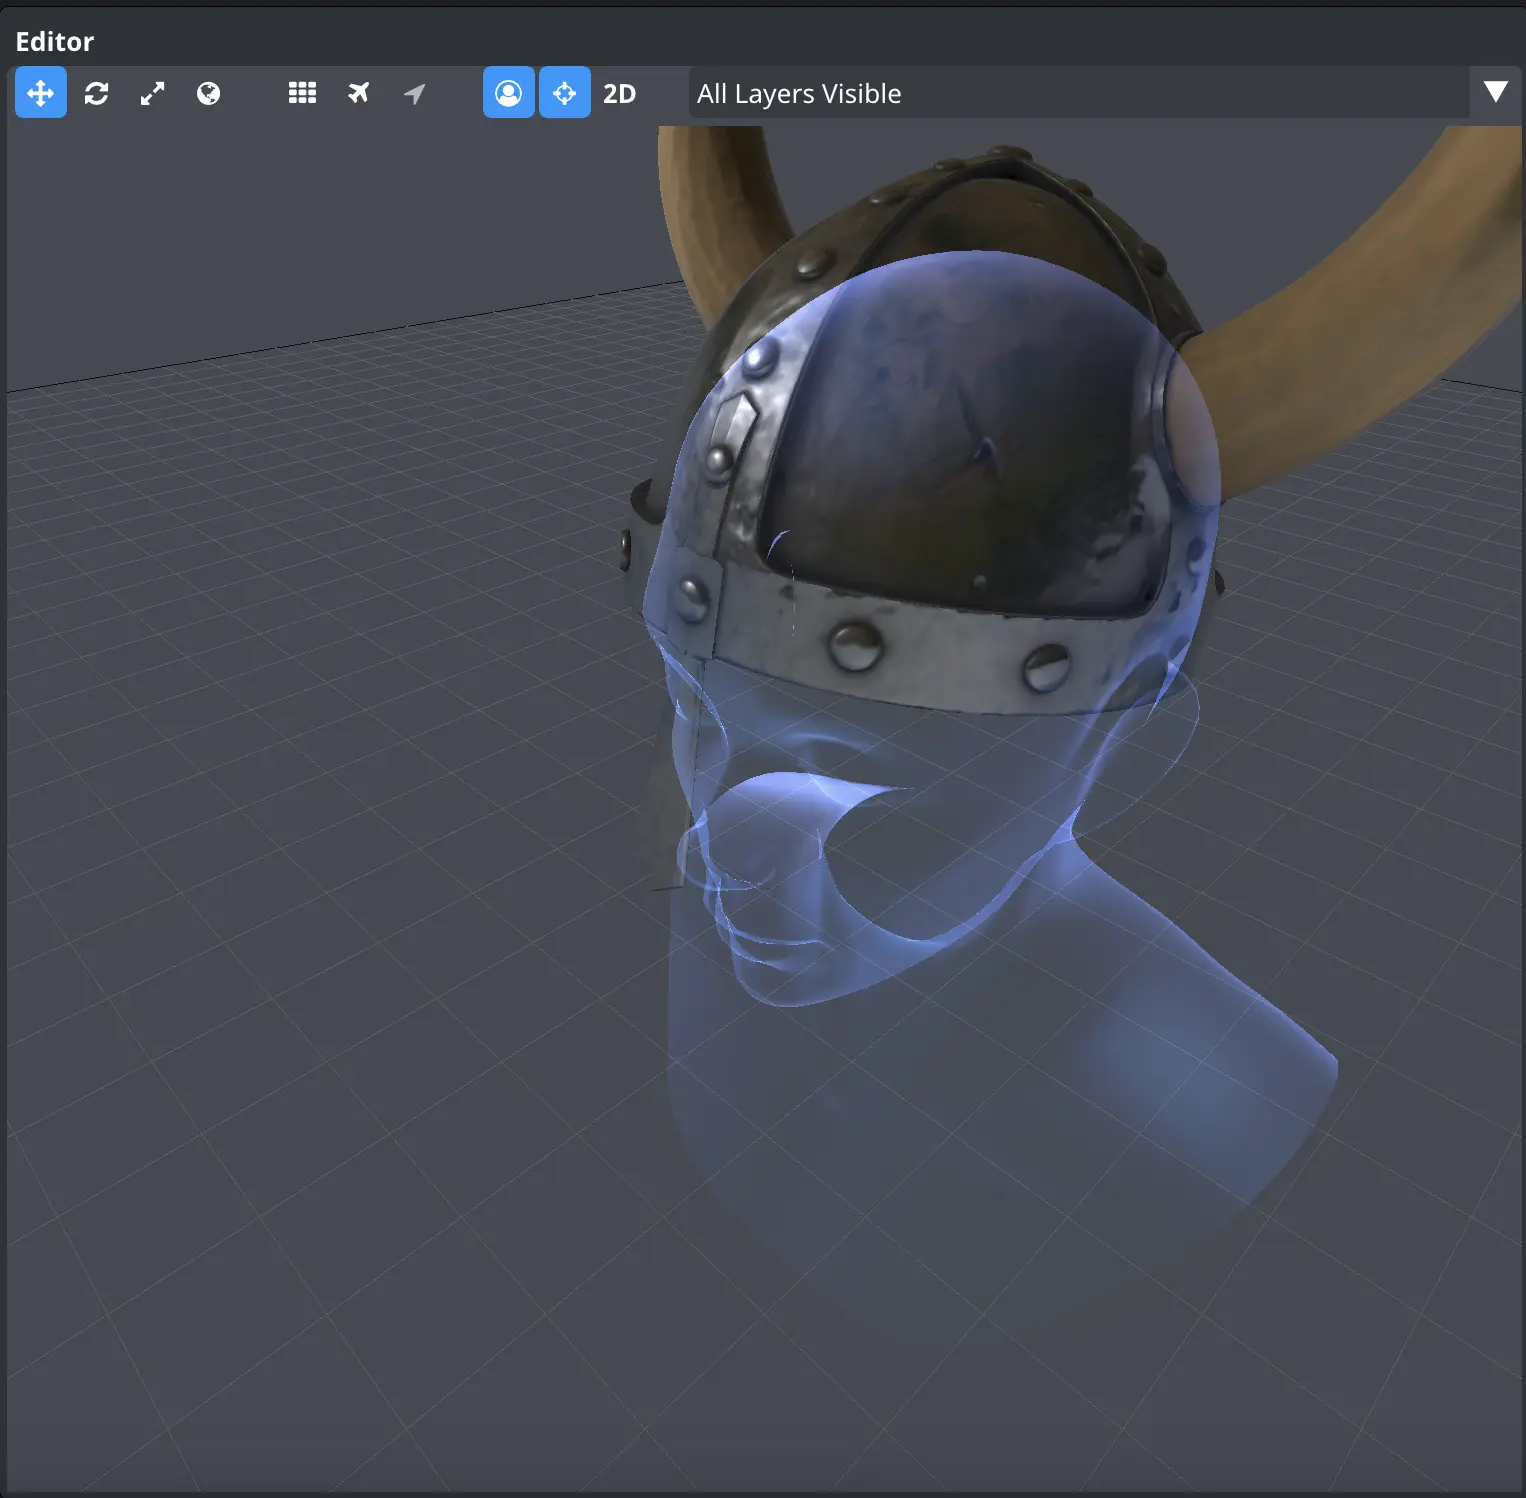
Editor
The 3D editor panel allows you to preview the effect in 3D space, move, rotate, or scale the objects by dragging the gizmos, and select nodes by clicking on the meshes contained in their mesh renderers.
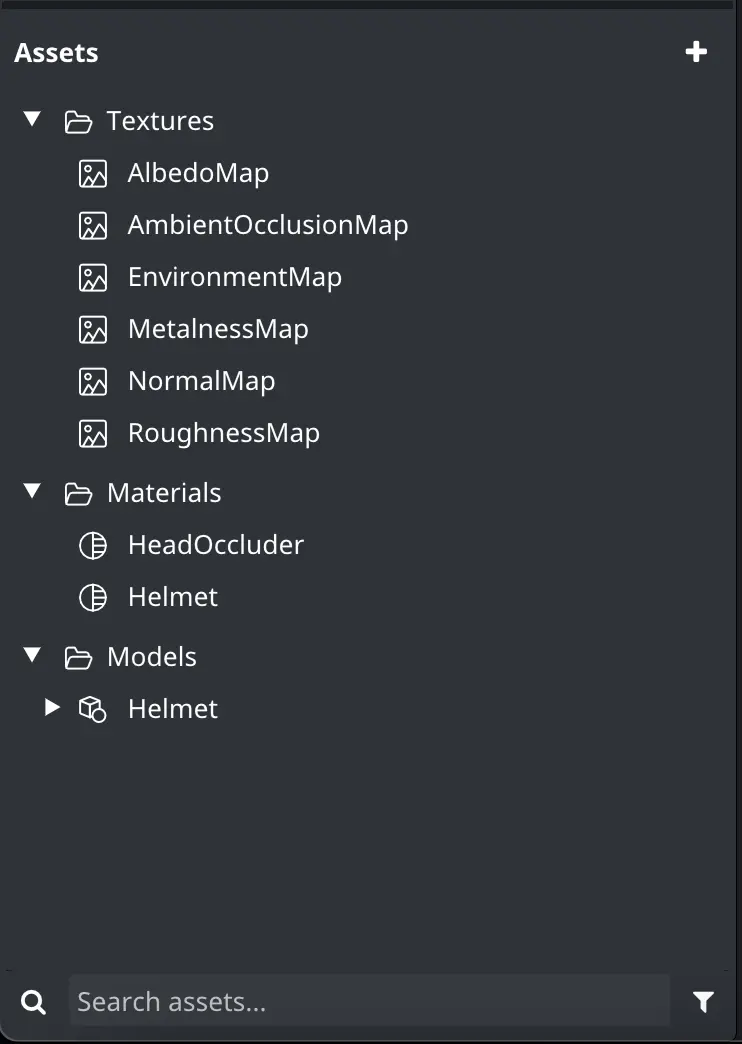
Assets
The Assets panel allows you to view the assets for the project, add new assets by dragging them to the assets panel, or by using the + button, select Assets to view and edit their properties in the Properties panel. The search functionality helps you easily find assets in larger projects.
Preview Toolbar

Launch or stop the live Preview in the native macOS SDK (macOS only) or on the Web. You can also generate a QR code and test the effect on a mobile device using our effect tester apps.
The Export dropdown will give you more info about the final size of your effect as well as any errors or warnings that might exist.
Preview
The preview will run your effect in real time on your camera feed or a video. This will allow you to view the changes you make on the project in real time.

Menu Bar

You can access shortcuts and features through the menu bar at the top of the screen. For example:
- Studio: Access preferences, or update the Studio
- File: Create new, Save, and Export your project or Import Asset Packs or Effects
- Edit: Undo and redo actions.
- Add: Add prepared meshes or textures to your Assets
- Editor: Access Editor shortcuts and change how models are rendered
- Preview: Toggle Debug options in the Preview such as visible physics colliders
- Layout: Configure your workspace
- Help: Access our docs or submit feedback
Animation Builder
You can control animations or playable objects in DeepAR Studio using the Animation Builder. Animation Builder can be accessed by selecting an animated node in the hierarchy or from the Layout menu. For more information check the Animation Controller.

Timeline

Allows you to preview animations of the selected node. For more information check the Timeline.
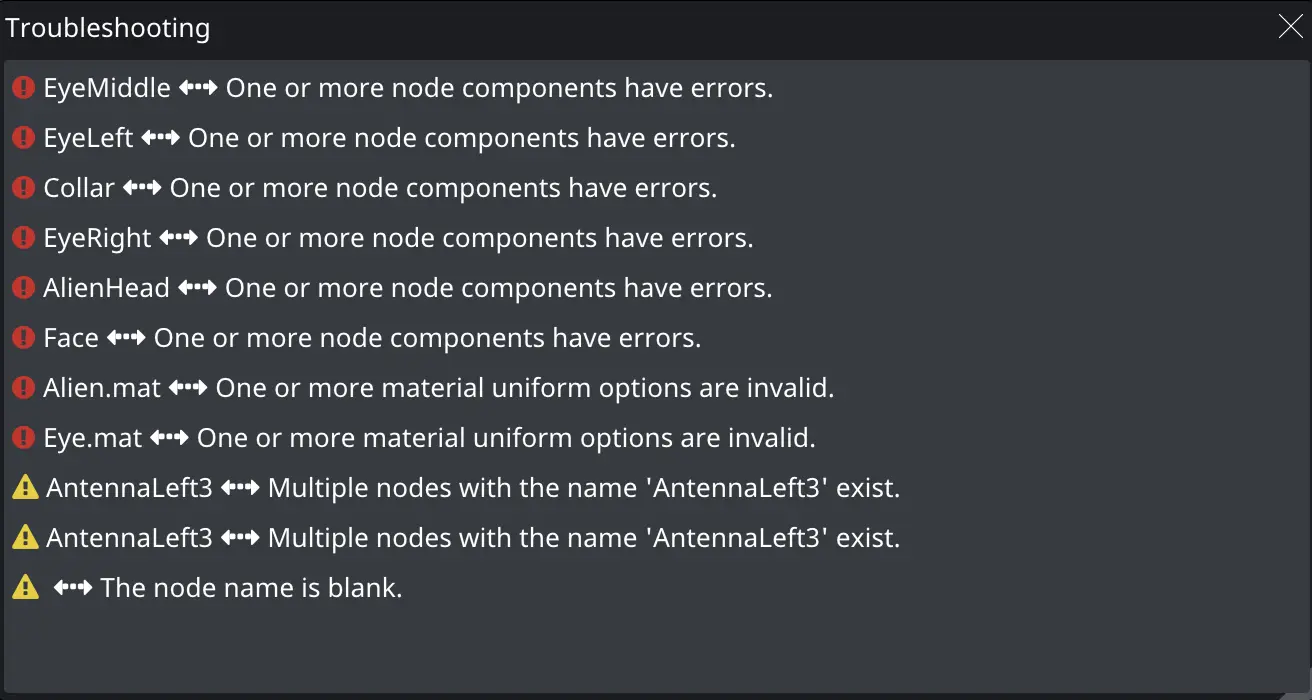
Troubleshooting
The troubleshooting panel can be accessed from the Layout menu. It will show you a detailed list of all the warnings and errors present in your project. This will help you resolve any issues and ensure that your finished effects run smoothly.
Shader Editor
The Shader builder panel allows the more advanced users who wish to use custom shaders to edit the shader uniforms, their types, their default values, and editability. You can also edit the types of your vertex attributes.
You can access it by right-clicking a custom shader and selecting Edit, or from the Layout menu.

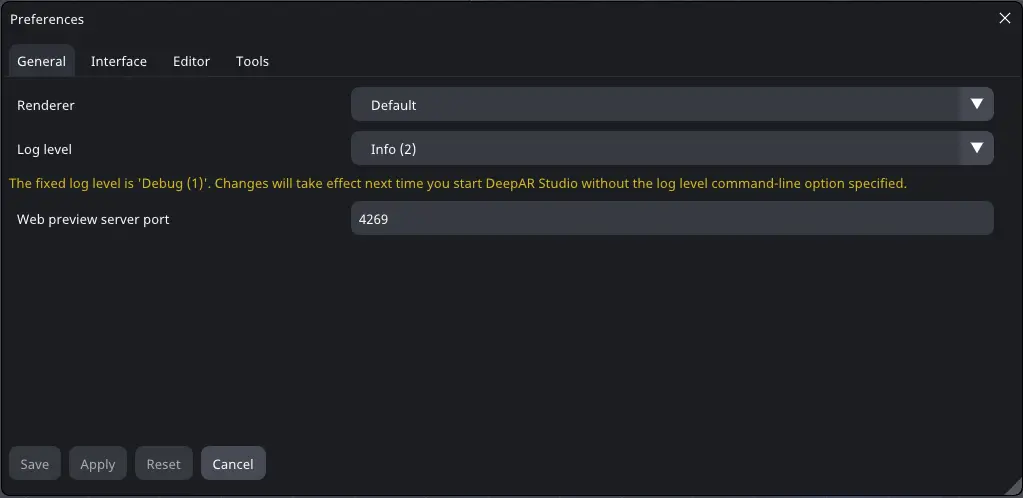
Preferences
The Preferences panel lets you set a number of preferences regarding your Studio experience. It can be opened from the Studio Menu. For more information check Preferences.