Downloading, Installing, and Updating DeepAR Studio
To get started with DeepAR Studio, you need to download the installer for your operating system. DeepAR Studio is available for MacOS and Windows. Visit the Developer Portal downloads page, choose the operating system, and press Download.
- macOS
- Windows
Locate the downloaded ‘.pkg’ file in your Downloads folder or the location where you saved it. Double-click on it and follow the installation instructions.
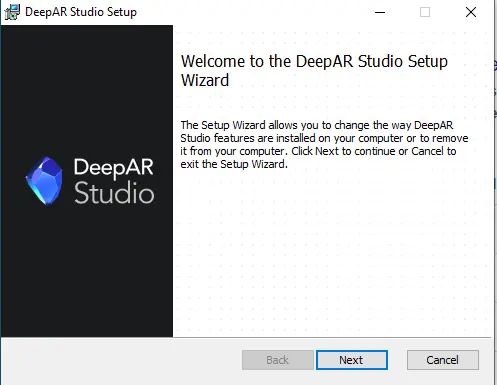
Locate the downloaded ‘.msi’ file in your Downloads folder or the location where you saved it. Double-click on it and follow the installation instructions.

Updating DeepAR Studio
The DeepAR Studio team regularly releases new versions with enhancements and bug fixes. The update feature ensures that you have access to the latest improvements and features conveniently. When a new version of DeepAR Studio becomes available, users will receive an automatic notification. You will be prompted with a message indicating that a new version of DeepAR Studio is available.
Options to Choose From
- Install update: If you are ready to update, you can select this option. The update process will begin immediately.
- Remind Me Later: Ask me to update the next time the Studio opens.
- Skip This Version: Don’t install this version. You can always install it later by manually checking for updates. See the Manual update check section down below.
Update process
When you click on the Install Update button, the download process will start. Once the download process is done, you will be prompted with the Install and Relaunch option. Click on the Install and Relaunch button and enjoy the DeepAR Studio.
Manual update check
Navigate to the Studio menu at the top and click on Check for Updates… to initiate the update check.
If an update is available, you will receive a notification and you can proceed with the update process.