Quick start project
Use the prepared assets to create the asset for usage in the Studio.
Download the Witch Hat .glb fileThe witch hat model was made by Eques_inferno under the CC Attribution license
Start DeepAR Studio. Create a new project.

Drag and drop the WitchHat.glb file into the Assets Panel. This will create a scene object in the Assets.
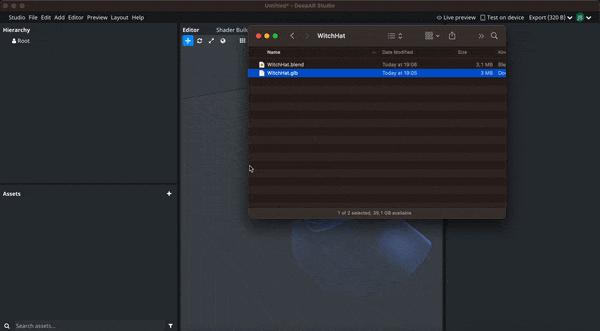
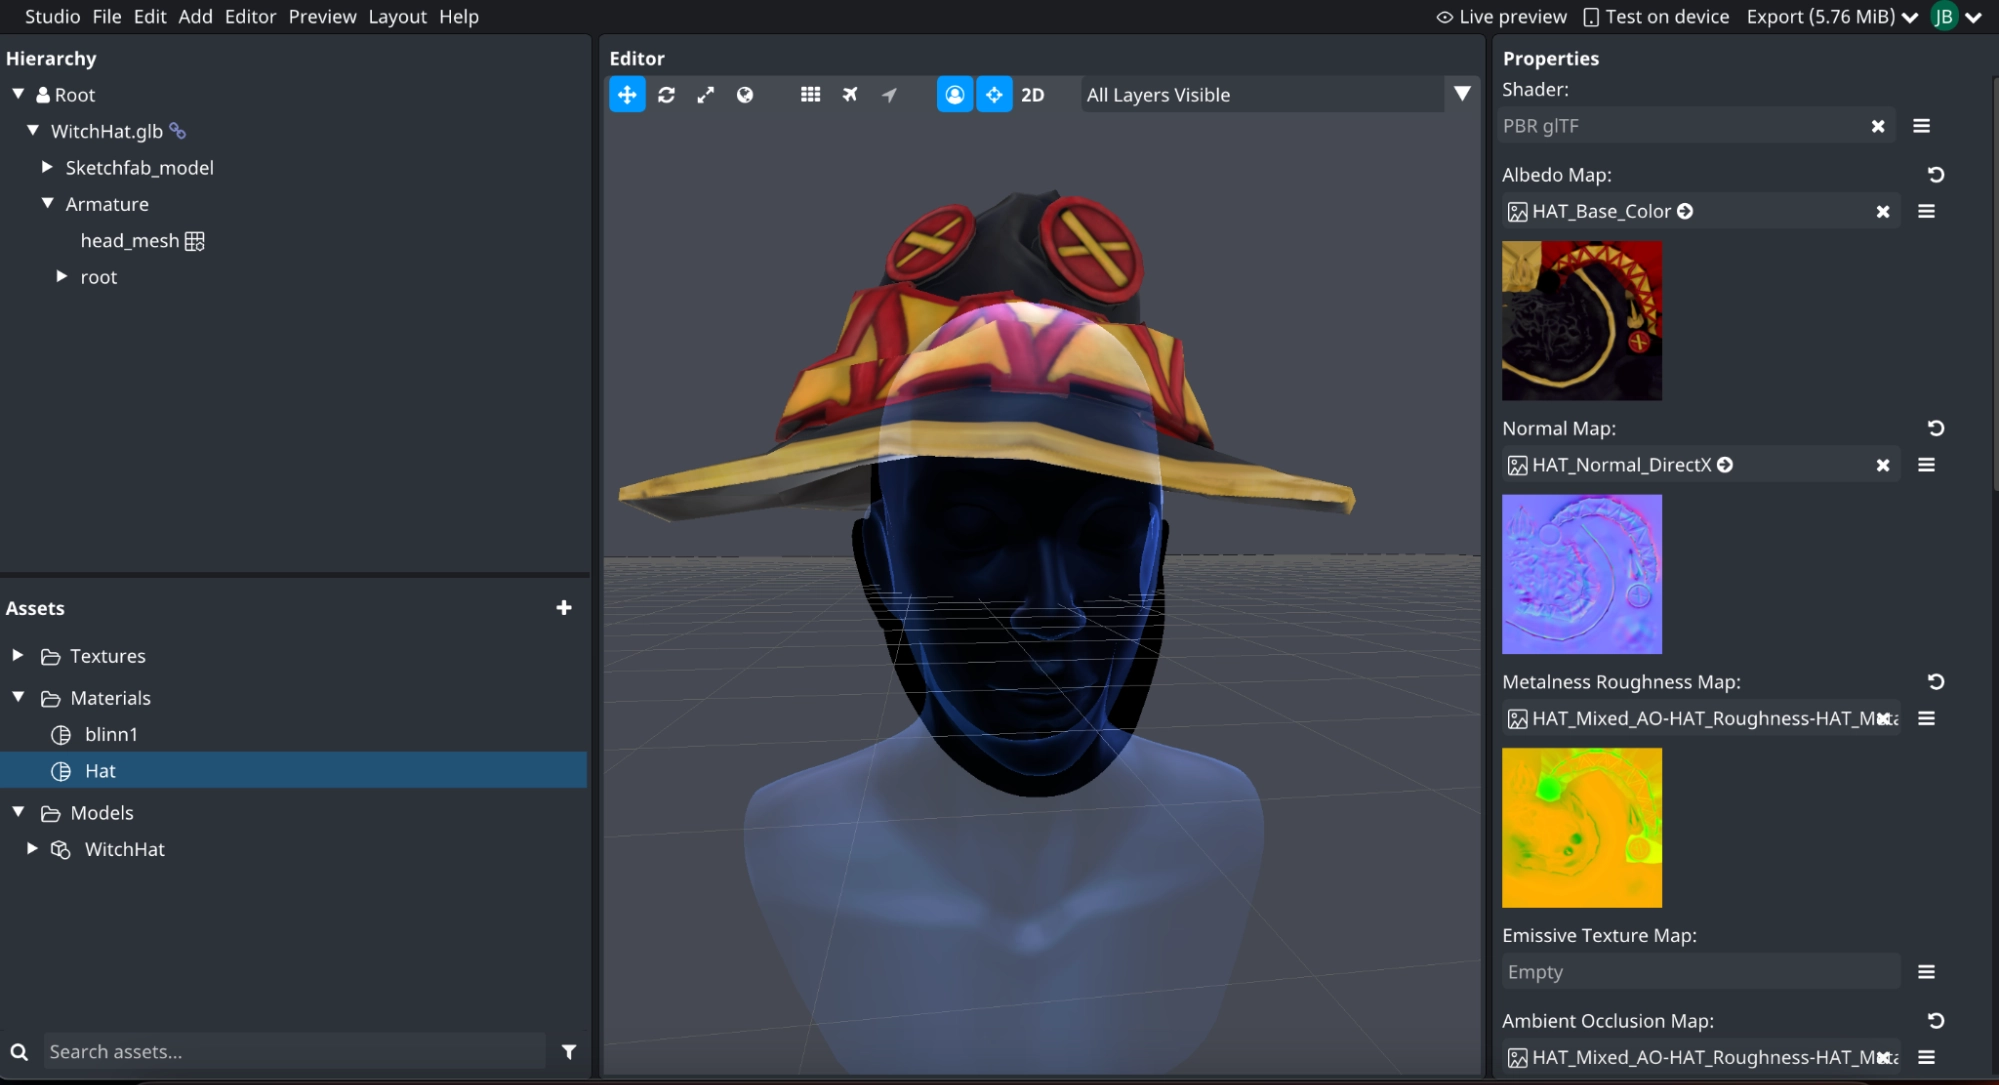
Drag and drop the WitchHat.glb scene from the assets panel (Models category) to the hierarchy. The model will appear in the Editor.
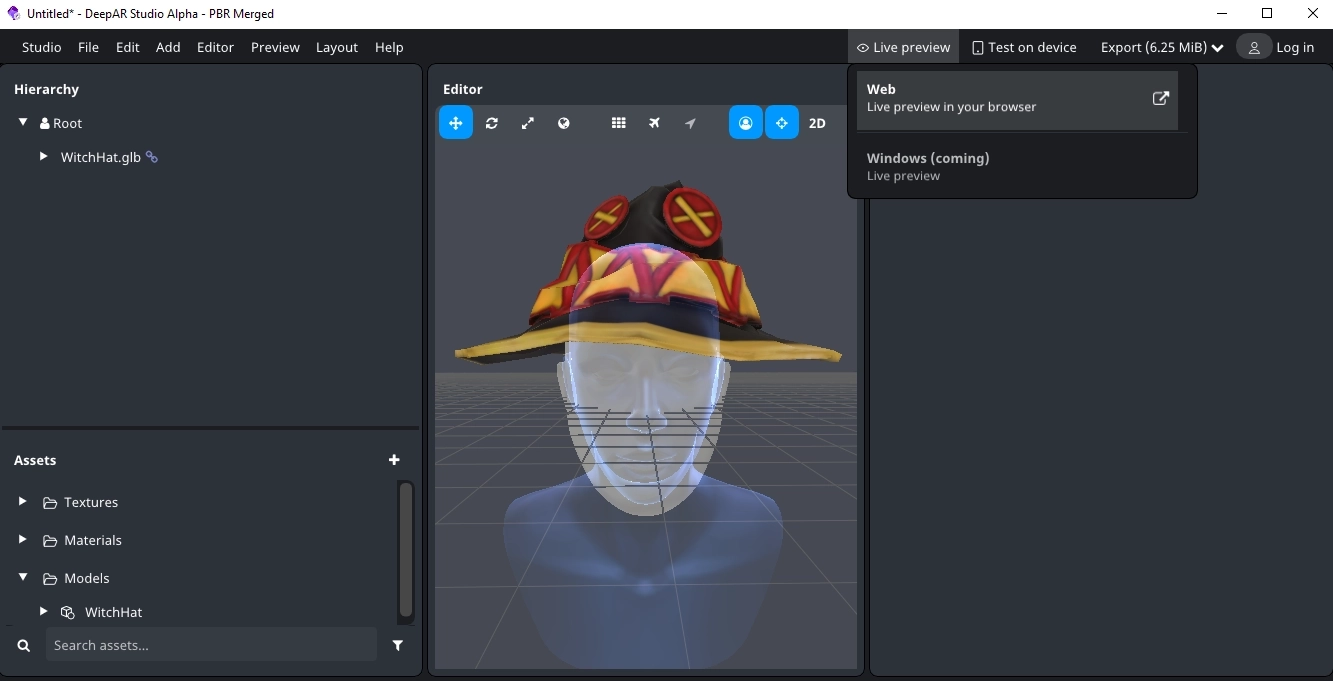
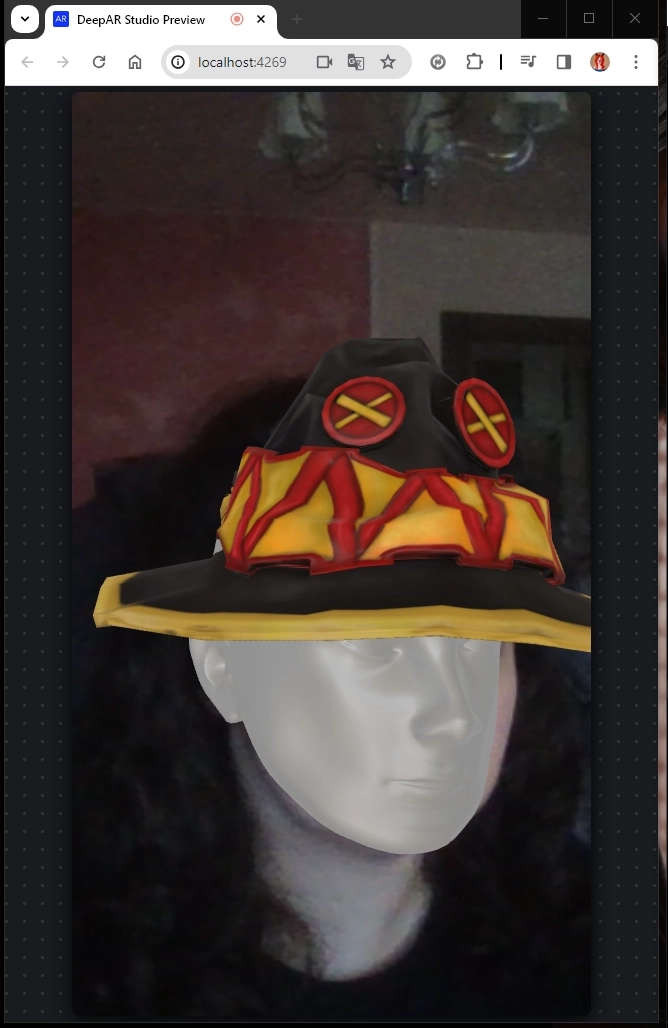
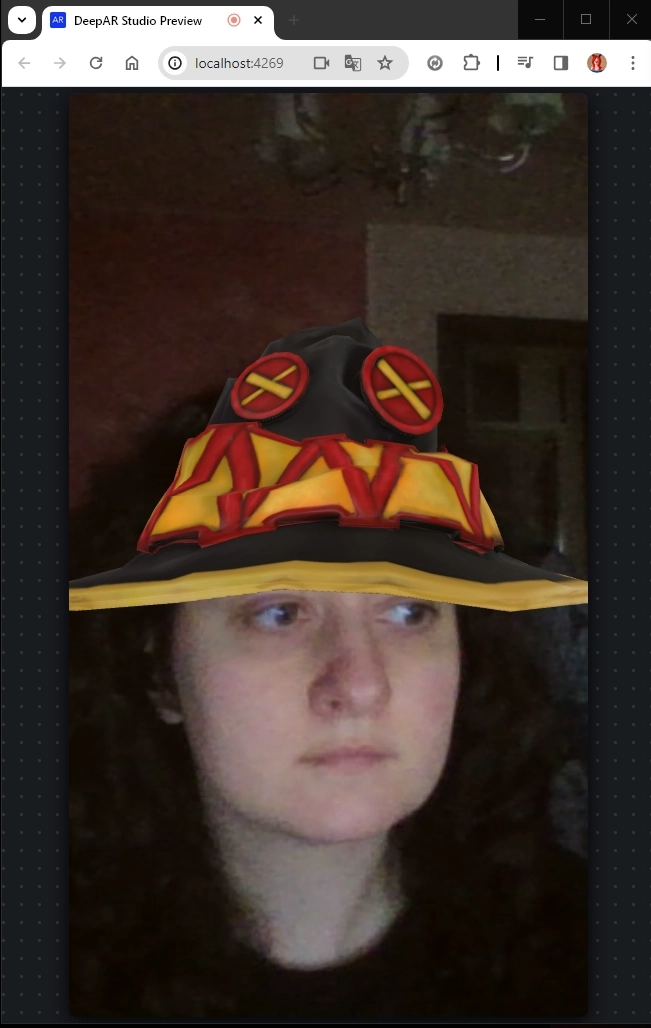
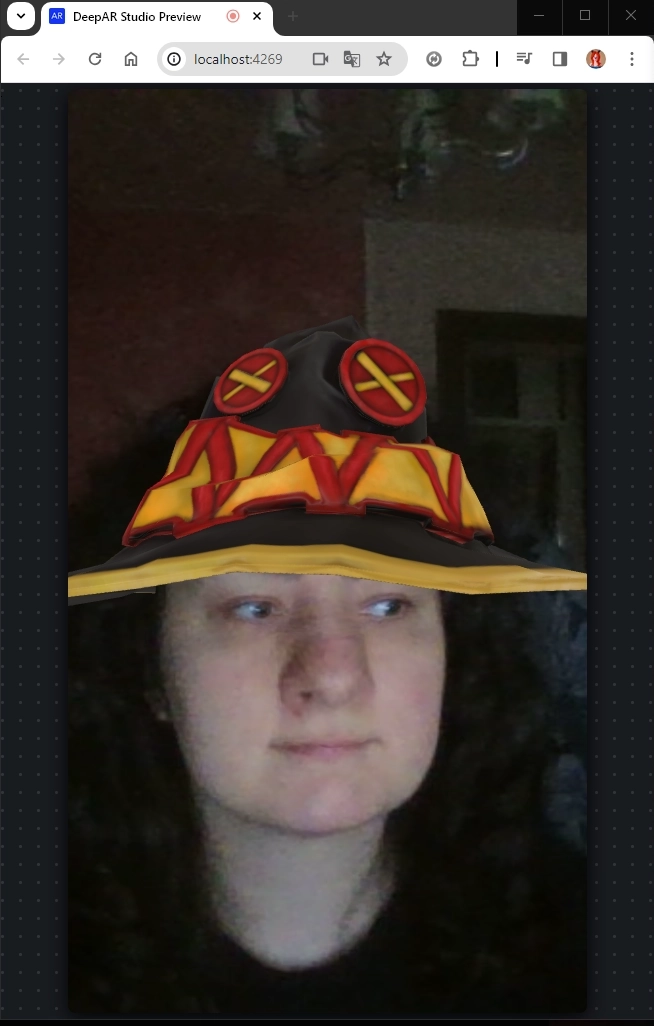
To see how the effect looks use the Live Preview.
To set up face material click on the head mesh in the viewport or in the hierarchy. Select Properties and click on the material. Or select material in the assets. You can rename it within DeepAR Studio if you need to.
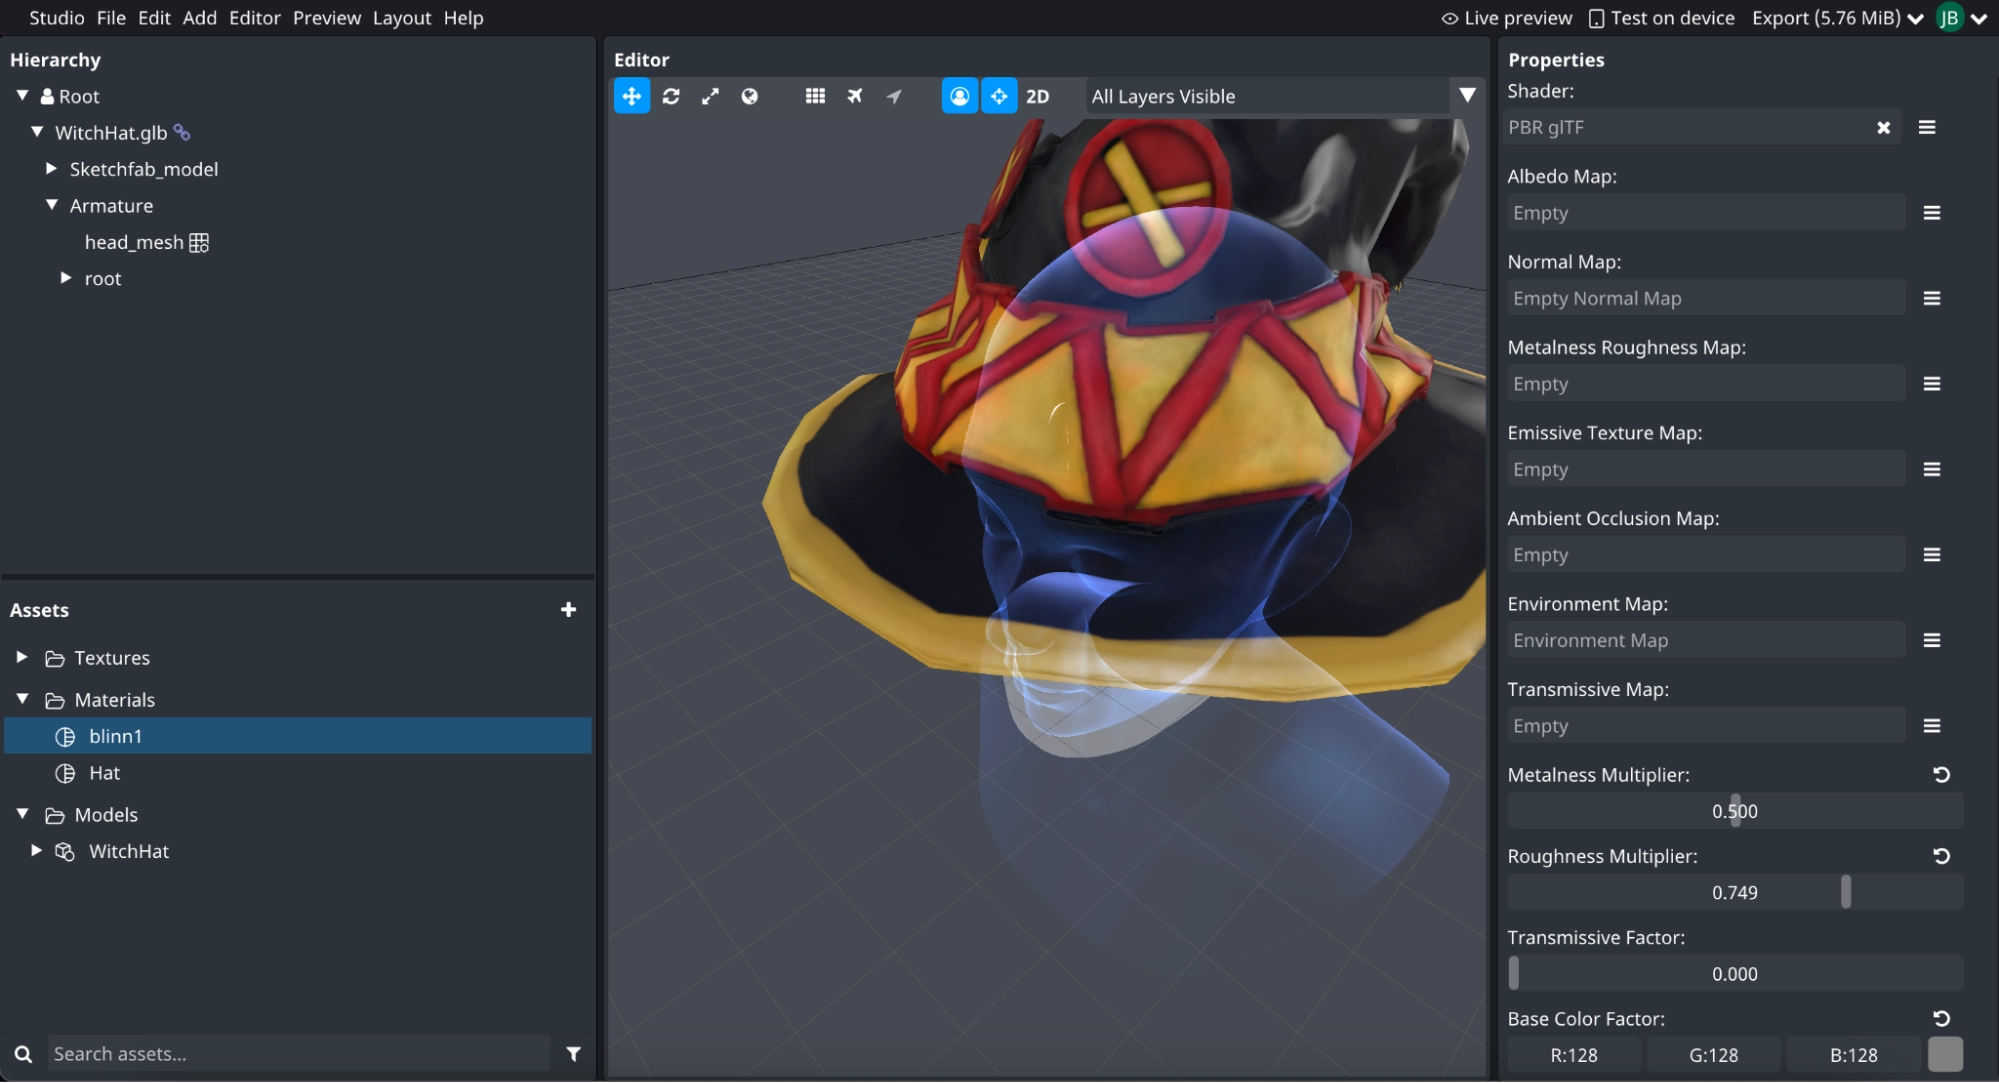
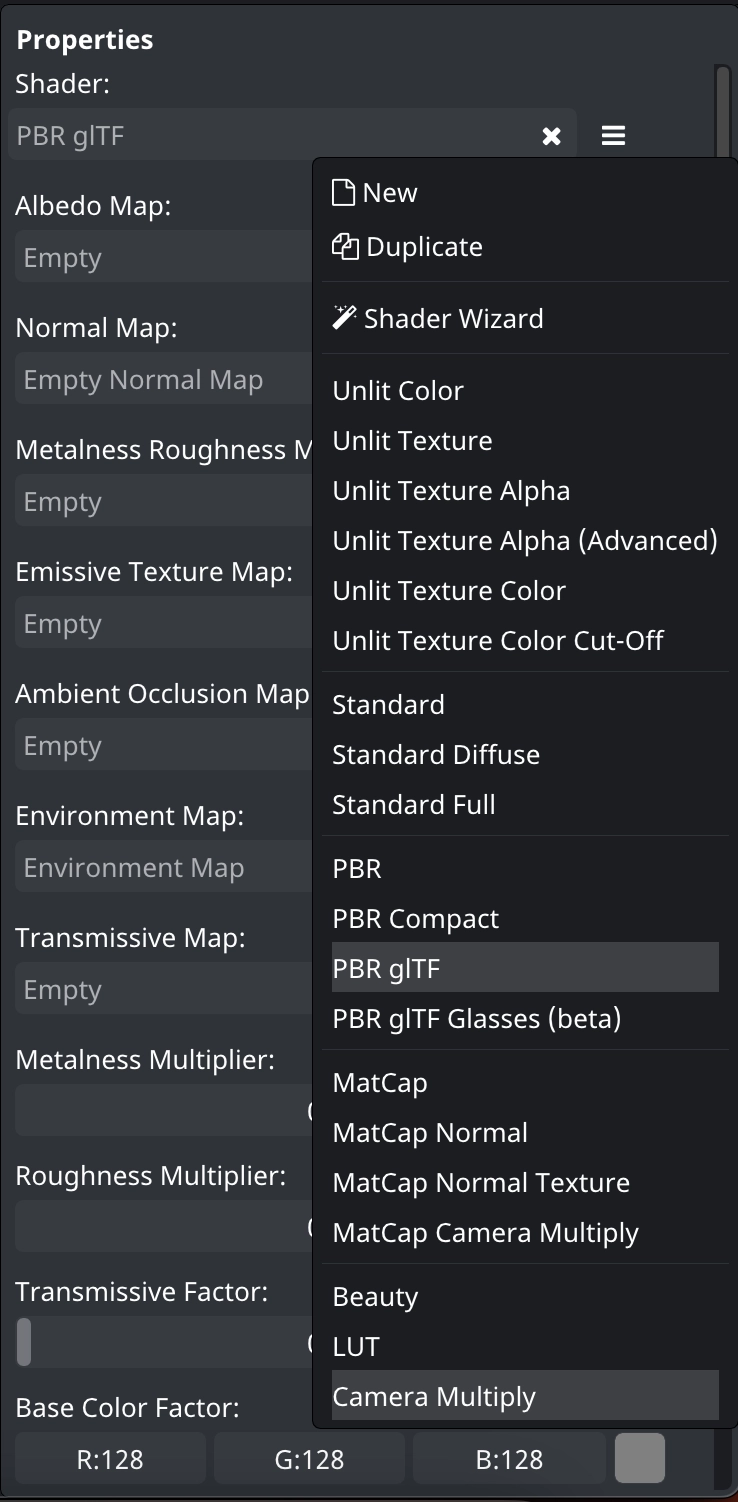
In the opened material properties editor change the shader to Camera Multiply.
In the Color Texture field select Camera.

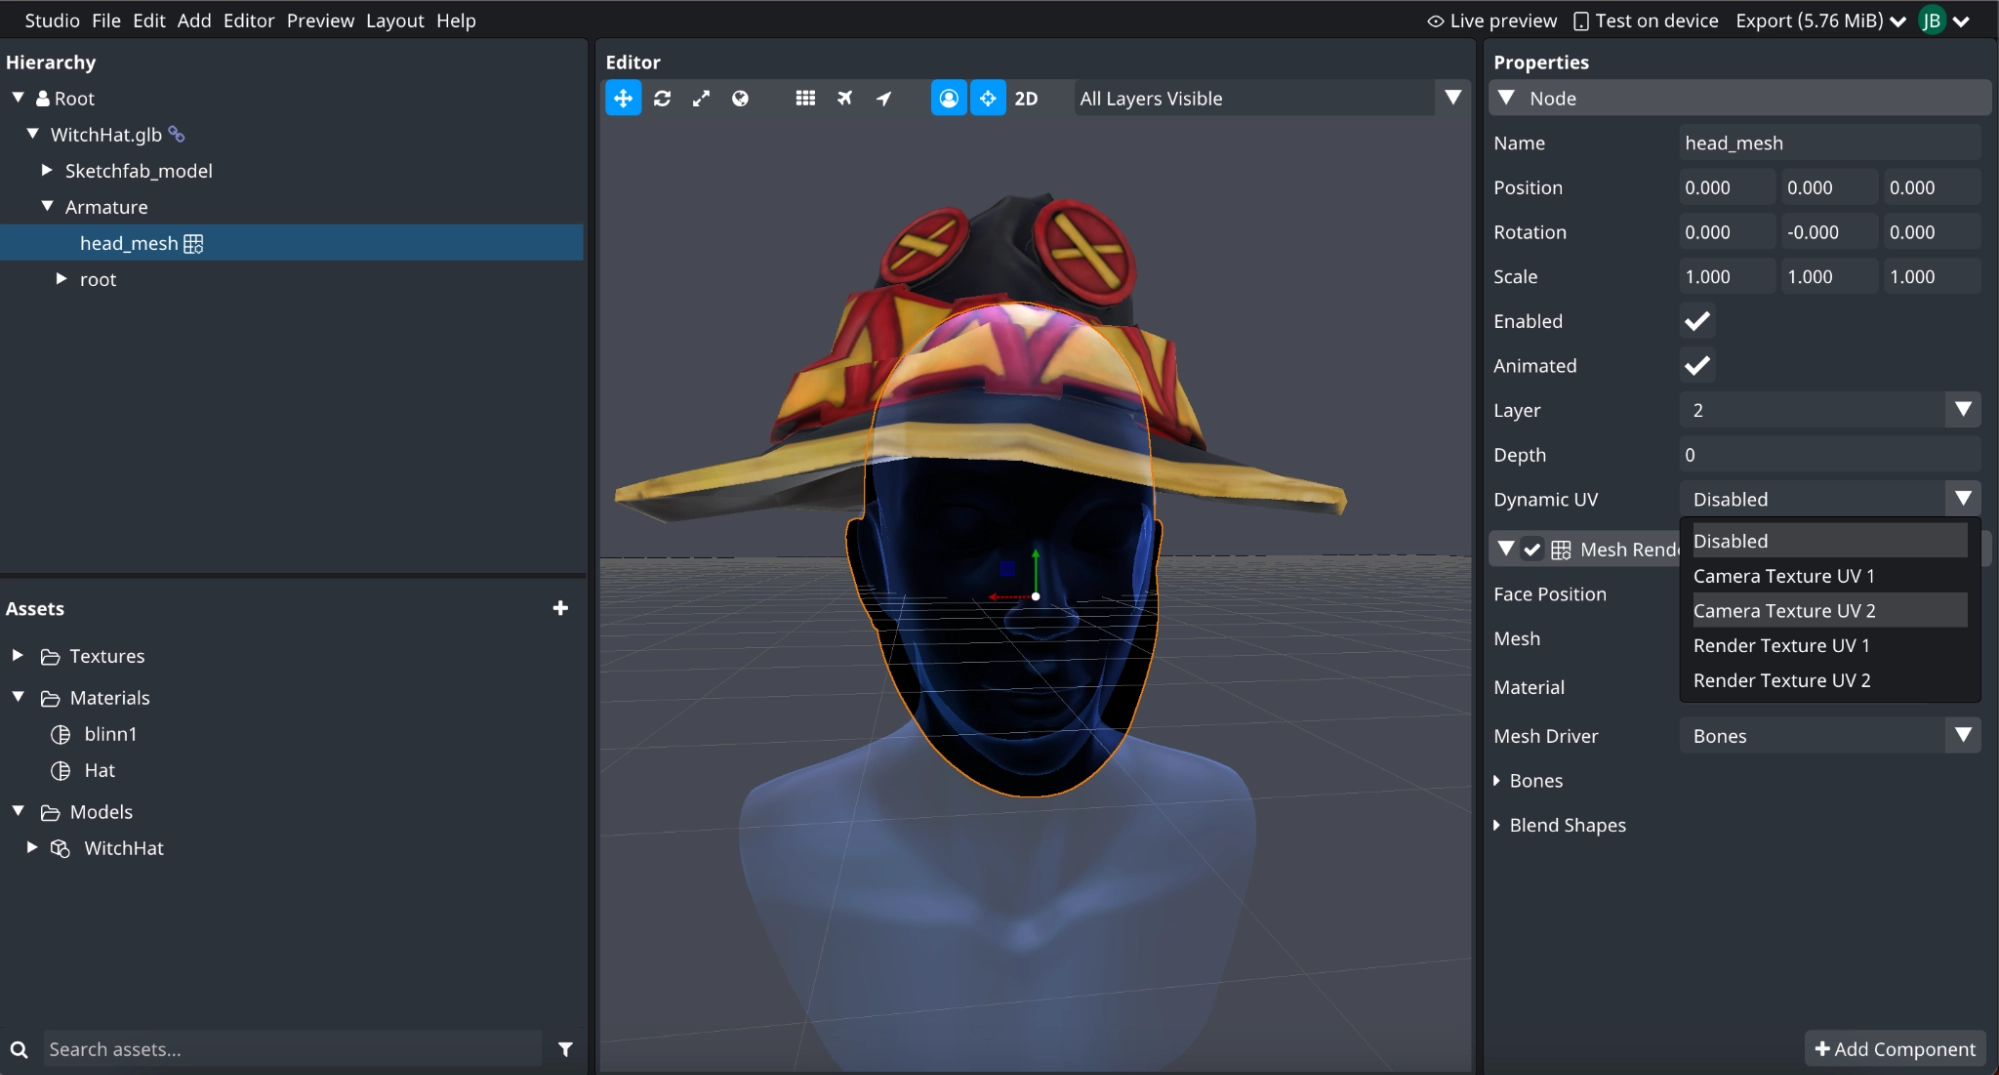
Then click on the head_mesh in the hierarchy. In properties change Dynamic UV to Camera Texture UV2. Now the camera view will project on the face mesh.
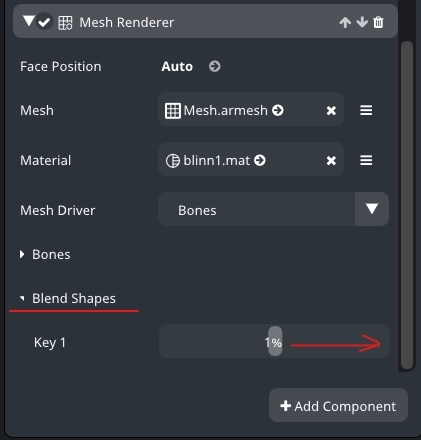
With the head_mesh node still selected scroll down the properties window and open the Blend Shape menu. Set the Key 1 (your blendshape) value to 100.
Don't forget to save the project.
Importing a glb file into DeepAR Studio frees you from setting up the material in the Studio. But at any time you can make changes in the material, should you need to.
For better effect performance you can adjust the textures in the DeepAR Studio. For more information on reducing the effect size and improving the performance of the textures check out the Textures article.
Download the DeepAR Studio project