Scenes
A scene resource in DeepAR Studio represents a 3D model or a composition of objects, nodes, and components. It can also be thought of as a way of storing the Node Hierarchy with all of its dependencies.
Importing scenes
DeepAR Studio supports the import of 3D scenes in various formats, including FBX, GLTF, GLB, and DAE. These formats allow you to bring external 3D content into your projects.
The imported scene resource is visible under the Models folders in the Assets window.

Every scene comes with one or more meshes which you can inspect by clicking on the arrow next to the scene resource name.
Instantiating scenes
To use a scene resource in your project, you can instantiate it by dragging and dropping the resource into the hierarchy window. This action links the 3D model with the scene in the node hierarchy. The scene link of an instantiated 3D model goes in one direction. Any change made to the original resource can be applied to the instantiated scene. Instantiating the scene will unpack the nodes in the node hierarchy.
Instantiated scene resources will have a small chain icon next to the root node of the scene, indicating the scene is properly linked with the resource.

Breaking the scene link
If you want to unlink an instantiated node from its scene resource, you can do so by breaking the scene link.
To break a scene link, right-click on the node with the chain icon and click on the Break Scene Link option.

You can break the scene file from the properties window as well, by clicking on the break scene button.

Reverting the scene
Reverting the scene is a process of applying the changes made to the original resource to the instantiated scene.

In the example from the above image, we have instantiated the glove_anim_v3.fbx resource. The instantiated scene is shown in the hierarchy window with the node named glove_anim_v3.fbx.
Changes made to the scene resource within the Assets window are not automatically applied to the instantiated nodes in your project. You have to apply those changes by clicking on the Revert Scene button.

Make the scene
You can create scene resources from scratch by right-clicking on a selected node in the Hierarchy window and choosing the Make Scene option.

This action will create a new resource in the Assets window under the Scenes folder and will link the scene in the hierarchy with this resource.

The connection between these two goes in both directions, which means that any change made to the resource can be reverted back to the scene in the node hierarchy and vice versa.
Apply scene
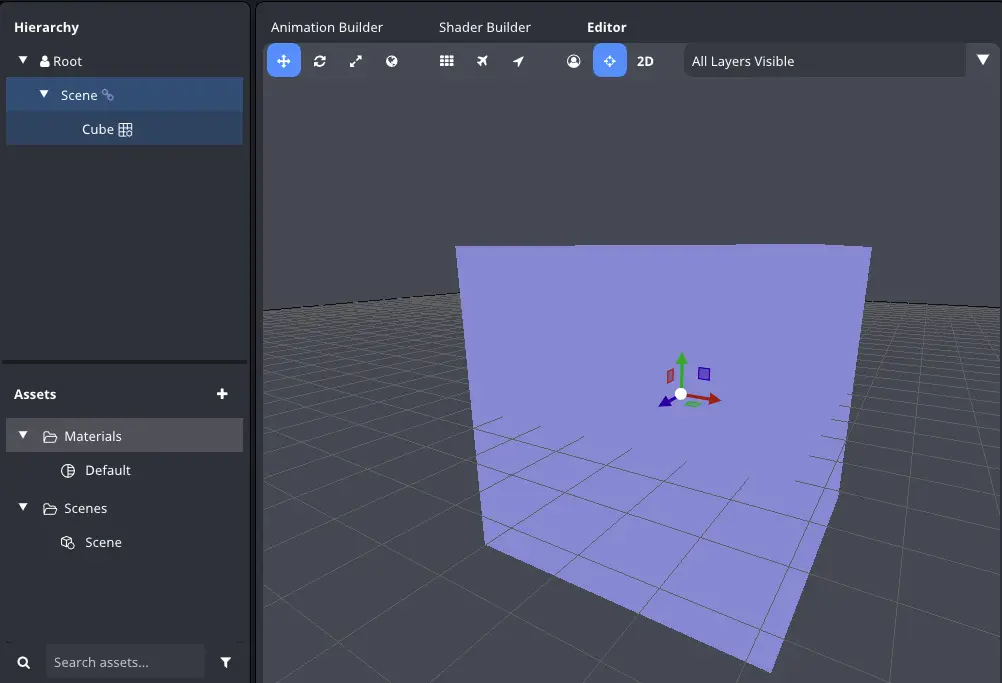
As an example, we have created a simple scene with the cube mesh.
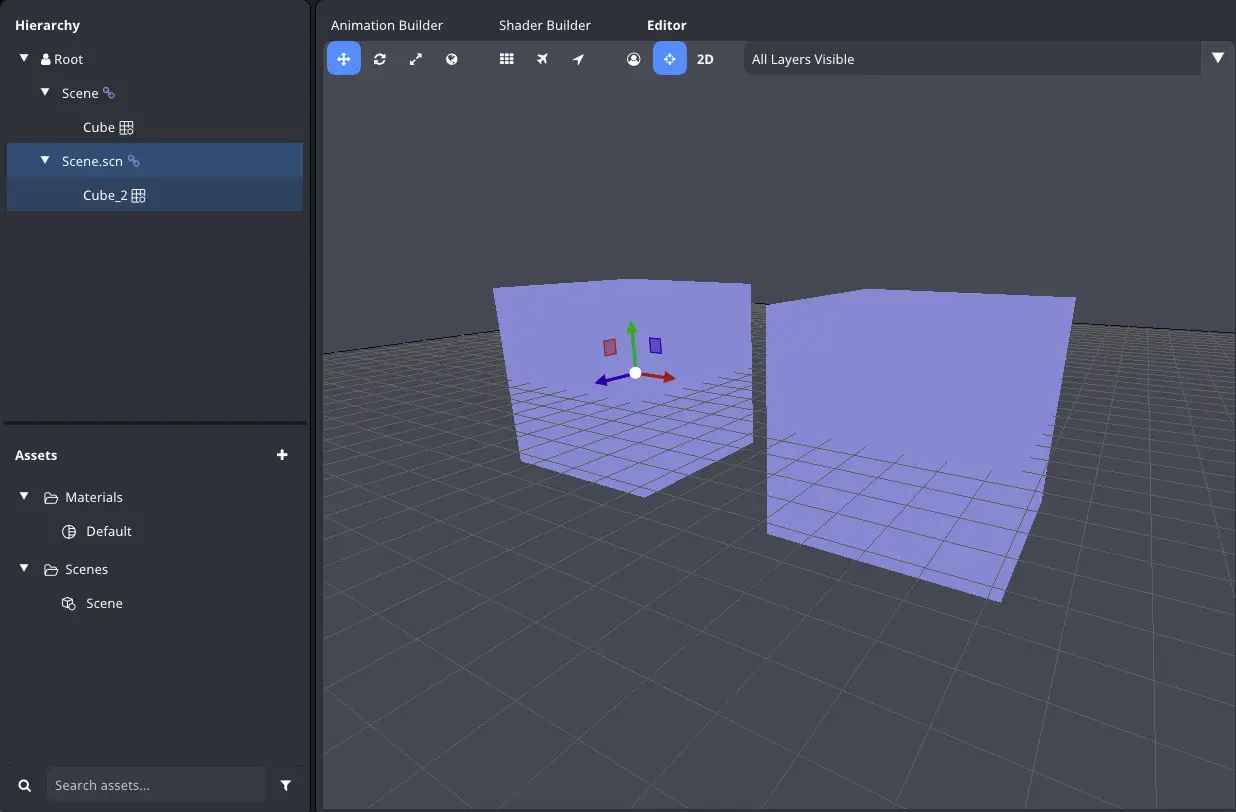
For the example purposes, we will instantiate the Scene resource by dragging and dropping it to the scene hierarchy.
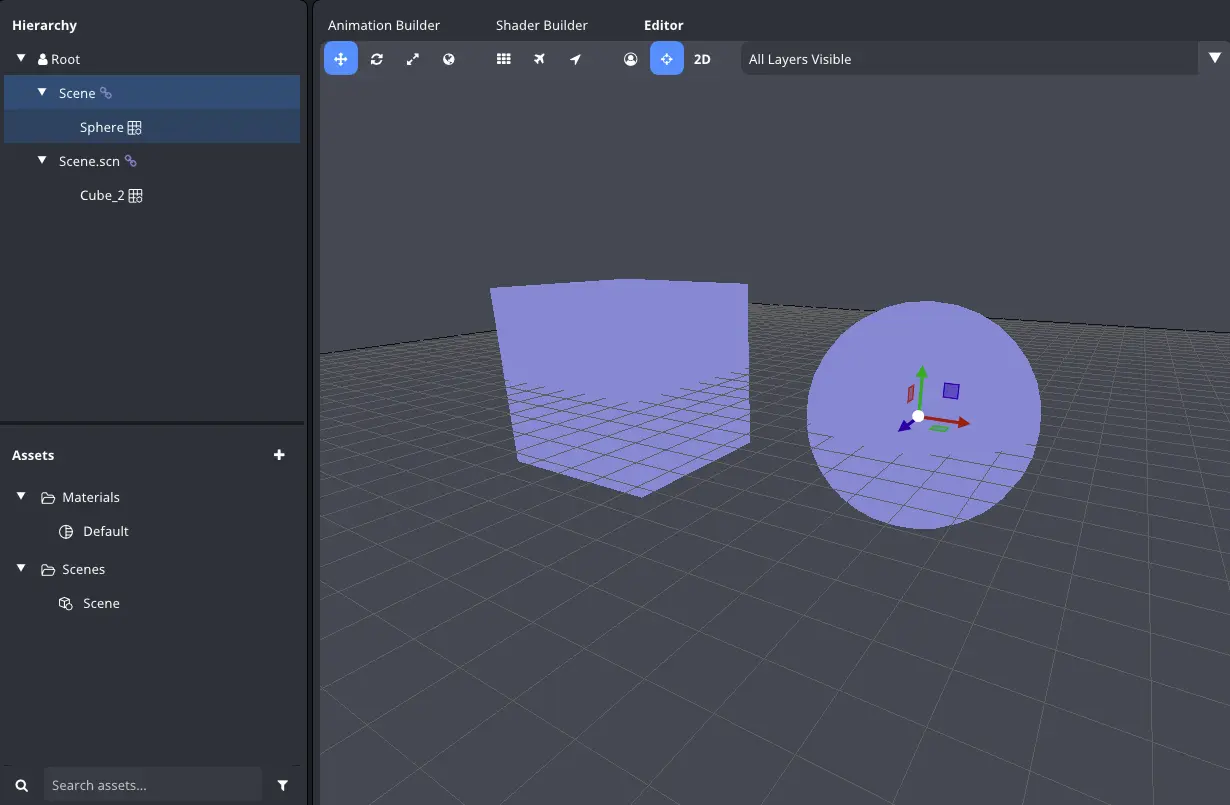
We will change the mesh in the original scene to the sphere.
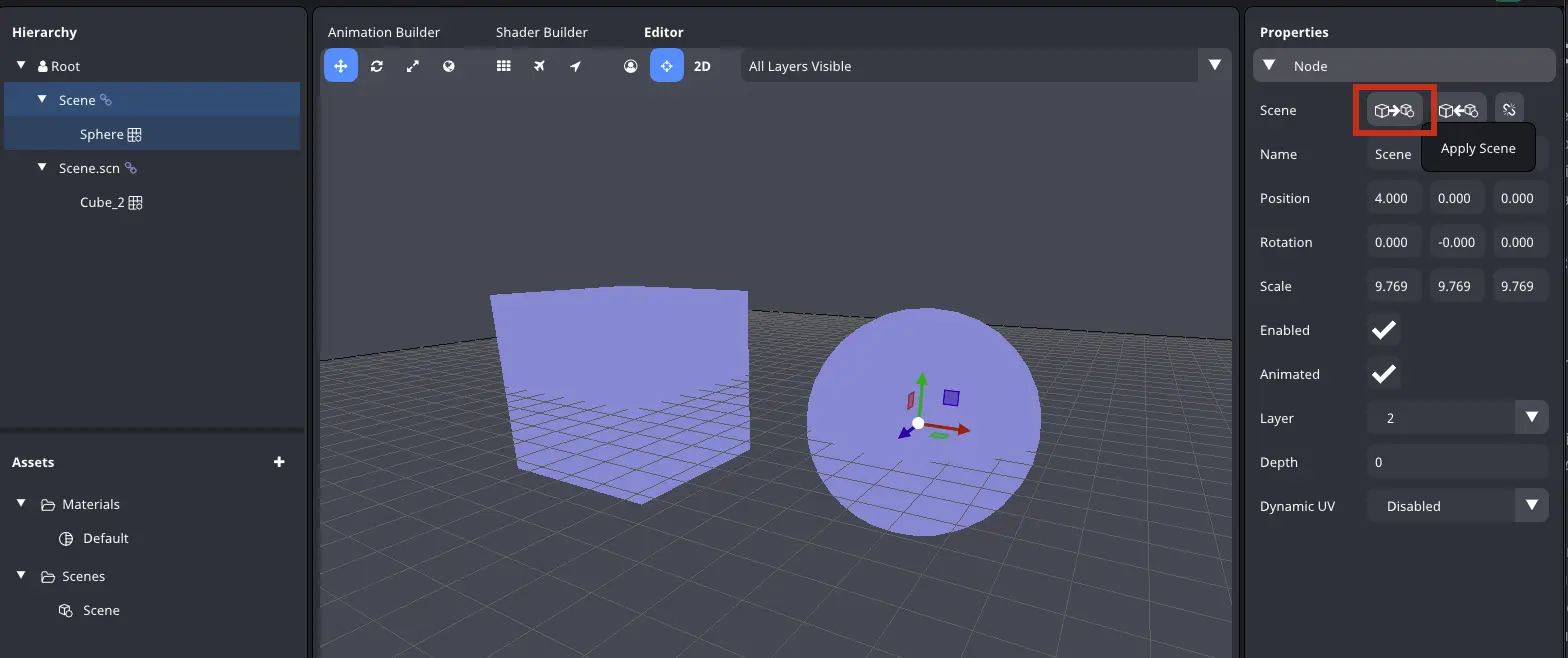
To apply those changes to the resource in the Assets window, you can click on the Apply Scene button.
To apply those changes to the Scene.scn scene in the hierarchy, you can click on the Revert Scene button.

Overview
DeepAR Studio scene resources allow you to create a template for AR objects. You can design an AR object with its components and properties and store it as a scene resource. This resource can then be reused throughout the project or even in multiple projects. The reusability saves time and effort in recreating similar objects.
DeepAR Studio scene resources ensure consistency in your AR effect design. When you instantiate multiple instances of the same scene, they all share the same properties and components. Any changes made to the original scene can be applied to the resource and reverted to other instances.
Changing the 3D model settings
DeepAR Studio provides users with the ability to customize various aspects of the imported 3D models. You can change the setting of the selected 3D model by clicking on the Change Settings button inside the Properties window.

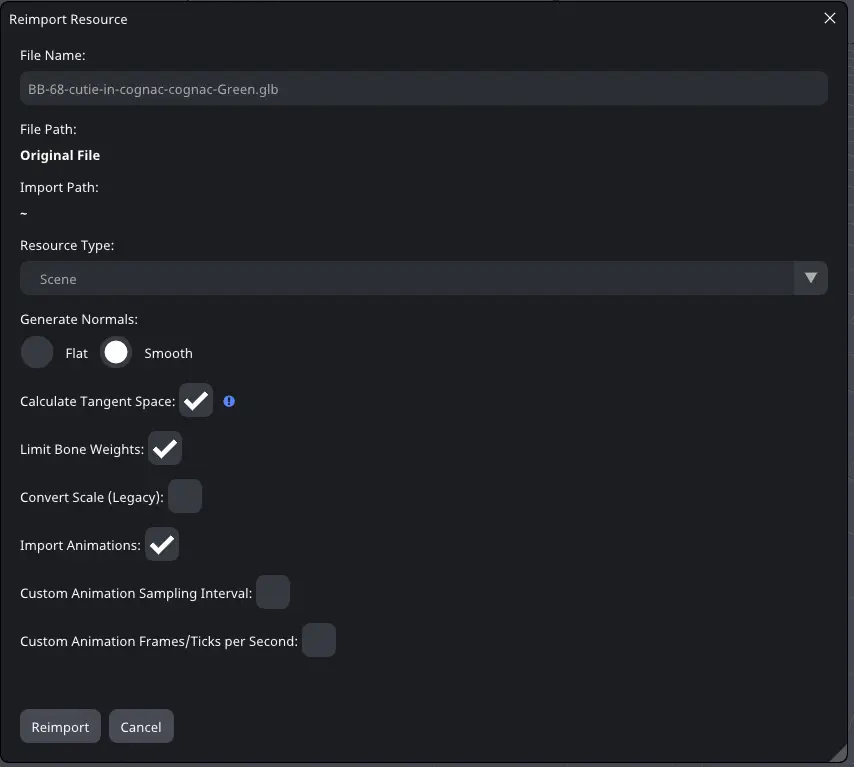
Here are the settings that can be modified:
- Generate flat or smooth normals: Normals determine how light interacts with the surface of 3D models. You can choose to generate flat normals for a faceted look or smooth normals for a more organic appearance.
- Calculate tangent space: Tangents are essential for normal mapping and smooth shading. Enabling this option ensures that tangents are calculated for the model, allowing for realistic lighting effects.
- Limit bone weights: Limit bone weights used for skinning. This option will make sure to limit the number of bones to 4.
- Convert scale: Used for legacy models that were created with a different scale.
- Import animations: DeepAR Studio supports the import of animations associated with 3D models. You can choose whether or not to include animations with the model.
- Change animation sampling interval: If animations are included, you can change the sampling interval. This controls how frequently animation frames are sampled and can impact the smoothness of animations.
- Change animation frames: You can adjust the number of frames in an animation, which can be useful for speeding up or slowing down animation or making it fit your project’s timing.