Lookup Texture(LUT)
A LUT (Lookup Texture) is a modifier between two images, the original image, and the displayed image, based on a mathematical formula. Any color transformations made to the LUT will be applied to the resulting filter.
LUT-based filters affect the whole image they are applied to and have no knowledge of surrounding pixels. This means filters such as blur or sharpen cannot be implemented via LUT-based filters.
Making a LUT
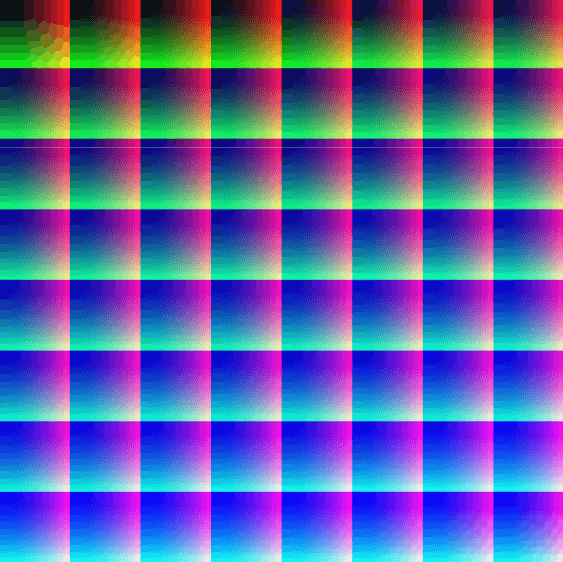
Before you can make your postprocessing effect, locate the default LUT.
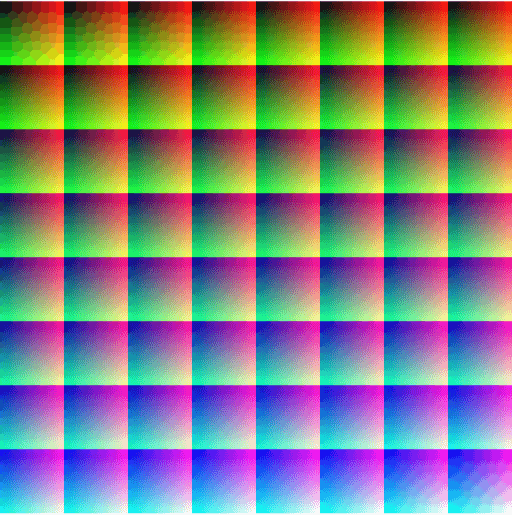
This table holds no color transformations, ie. when using this default LUT every color value is transformed into itself.
1. Load the default LUT into the image editing software of your choice
These instructions will use screenshots from Photoshop.
All color transformations you make to the identityLUT.png image will be applied to the resulting filter. For your reference, you can also load a photograph to another layer.
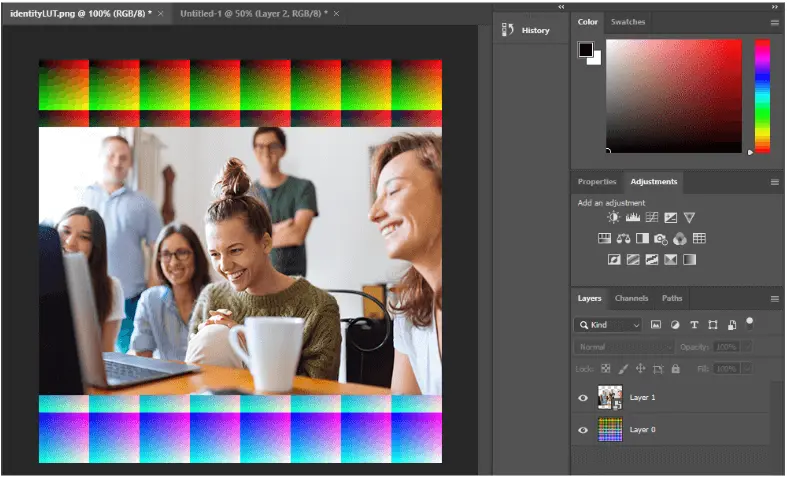
2. Choose a transformation you wish to apply to a filter
Options listed in Photoshop's Adjustments menu should all work well with this method.

As an example, we can adjust the hue, saturation, and lightness on the reference image and the default LUT.

Once you are satisfied with the results, make sure to disable or delete the reference image layer.
3. Save the result as a new LUT
LUTs should be saved as png files with no compression (maximum quality).
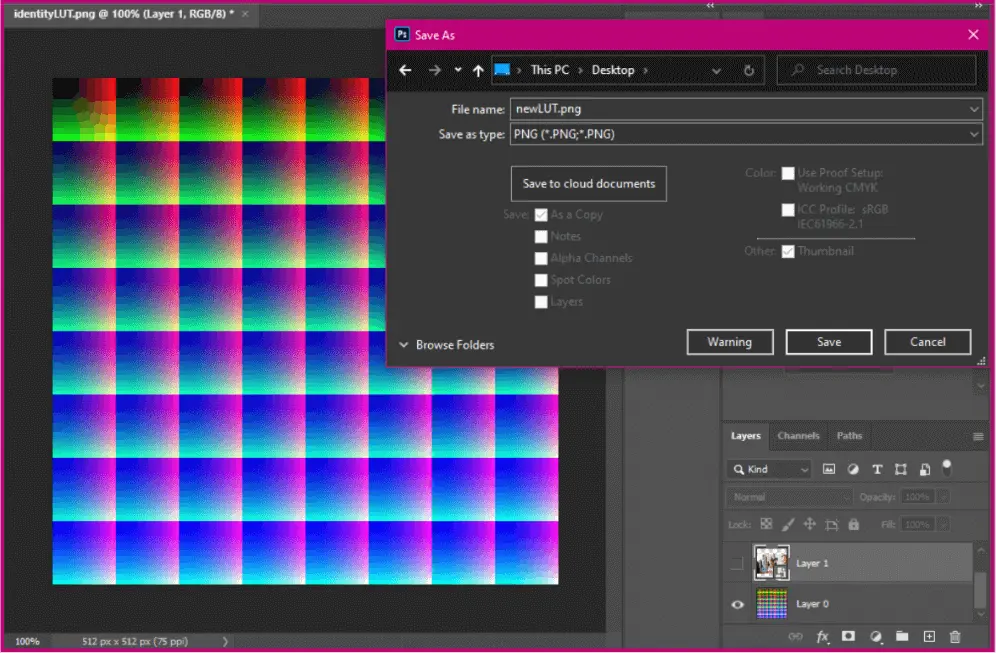

In this example the saved file is named newLUT.png, whenever newLUT.png is used in this example you should use your LUT texture.
Restrictions
As a rule, any global color transformations will work with this approach, whereas any tool or transformation which requires the knowledge of pixel location or surrounding pixels will not. Here is a table of some common tools or transformations:

Using the LUT
You can use the resulting LUT in the studio to create a postprocessing effect. To do this you need to apply the LUT shader to a postprocessing texture on a Quad. Different effects can be achieved by simply using different LUT textures.
For all of the simple use cases you will need to have a Root node in Camera space.

We will also need our newLUT.png texture.

Apply the LUT to the entire effect
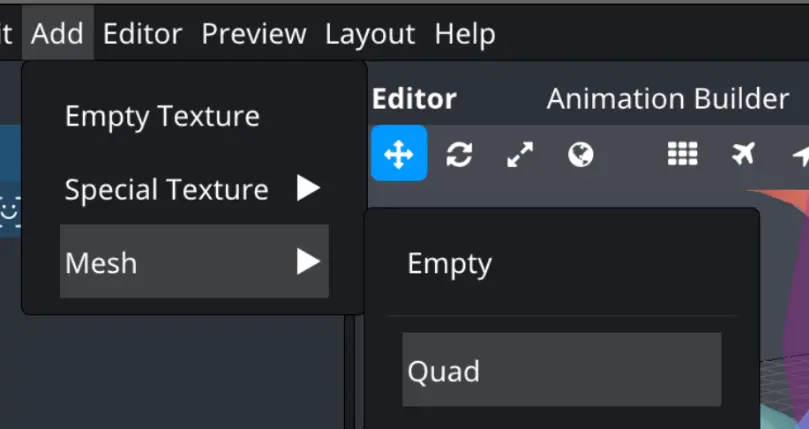
You will need to add the Quad that the LUT shader will render on. You can find a prepared mesh in Add → Mesh → Quad.
Once added it will Show up in the Resources window. From there you can drag the Quad to the hierarchy to create a node with the new mesh. It should be in camera space, so I have made it a child of the root node.

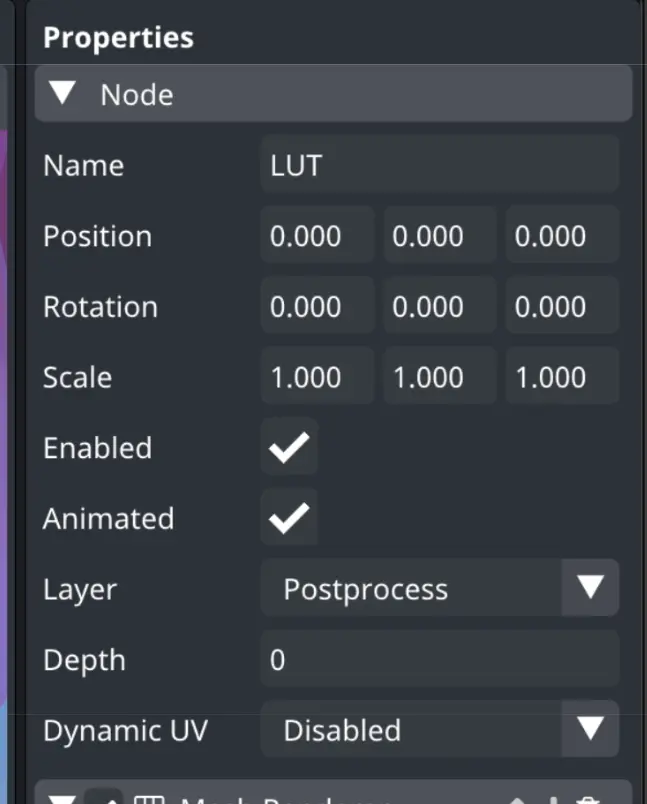
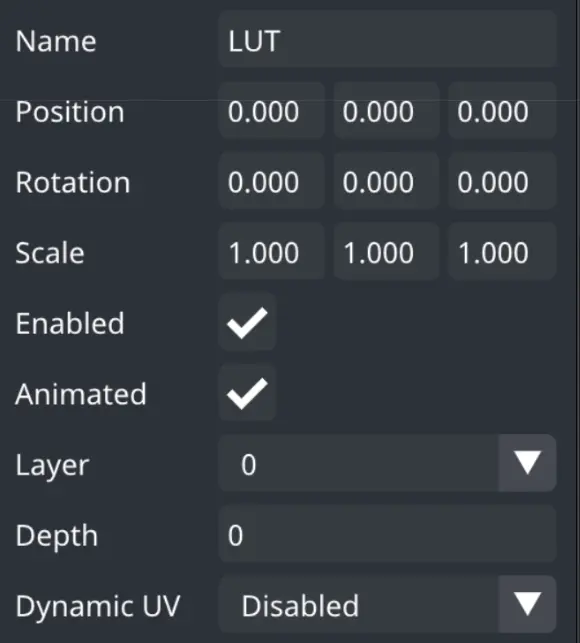
For clarity we recommend renaming the node to something clear, like 'LUT'.

Since we want this LUT to be applied to the entire effect we should put it in the Postprocessing layer. At this point your preview will stop working but don't worry, this is normal.
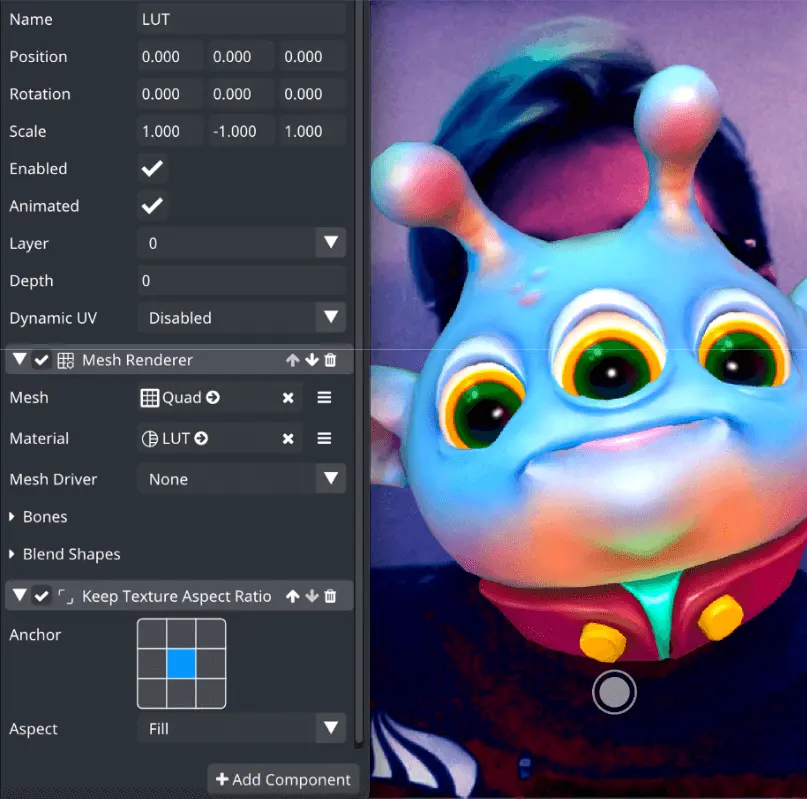
To fix our preview we need to set up the material on this node. Let’s create a new material, and maybe name it 'LUT' or something similar.

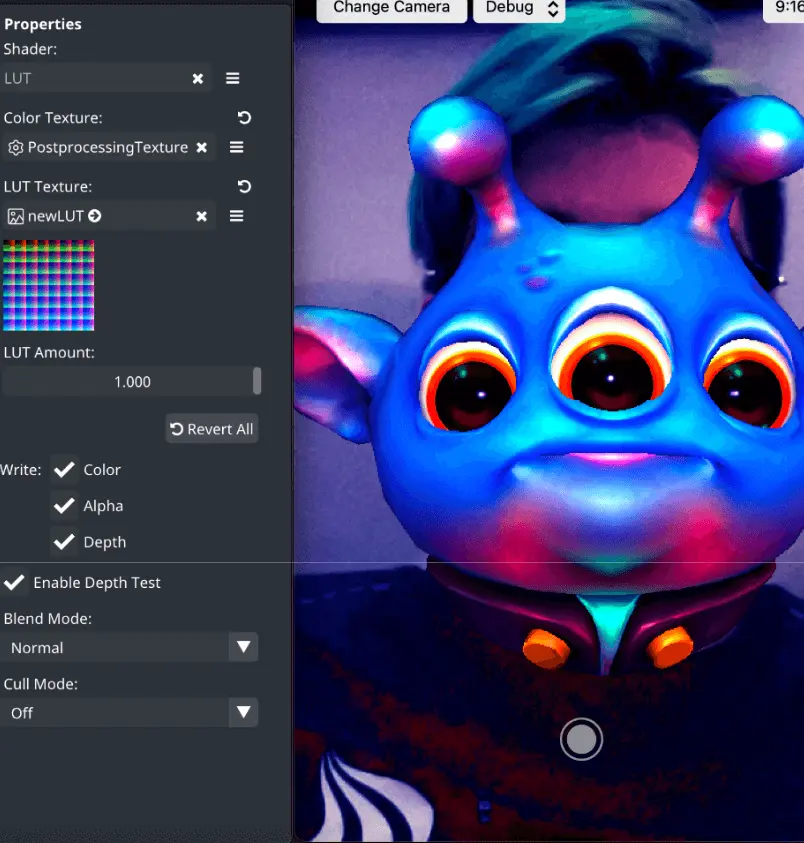
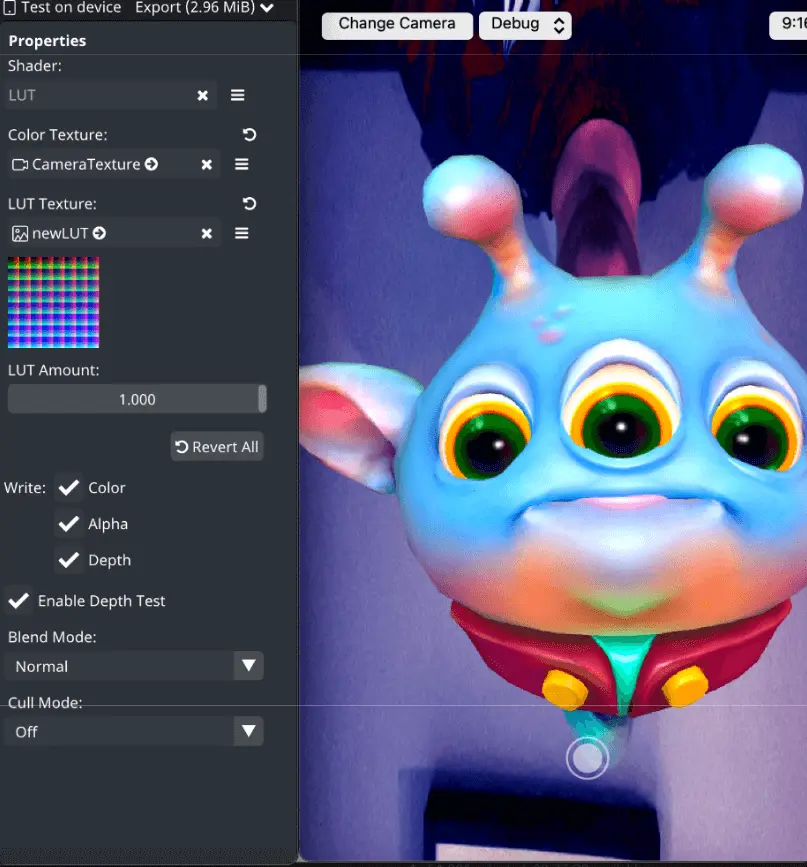
Select the new material and set it up like so:
Shader: LUT
Color Texture: Postprocessing Texture
LUT Texture: newLUT
LUT Amount: desired LUT intensity, here left at 1 or 100%
Apply the LUT only to the camera image
Starting from the last example we just need to make some adjustments to our Quad node “LUT” and edit the material to use a Camera texture instead of the Postprocessing texture.
First, we need to move the LUT node under our other elements since we don’t want to render over them. So we can move it to layer 0 which is also orthographic.
We also need to change our material to use the camera texture instead of the postprocessing texture.
Now we can see that this layer and texture work a little bit differently than the last example, but this is an easy fix.
We need to set the Y scale of our LUT node to -1 to compensate for layer 0 being flipped and add a Keep Texture Aspect Ratio component to it to to take care of the camera texture looking stretched.