Understanding License Key in DeepAR SDK
What is a License Key?
A License Key is a unique code provided by DeepAR to registered developers. This key validates and authorizes an application to use the features and capabilities of the DeepAR SDK.
Why is it Necessary?
License keys serve multiple purposes in the DeepAR SDK:
Authorization: It ensures that the application using the DeepAR SDK is authorized by DeepAR, preventing unauthorized or malicious usage.
Usage Control: The license key allows DeepAR to track and control the number of Monthly Active Users (MAU) accessing the SDK features.
Security: The License Key acts as a layer of security, ensuring that only legitimate applications can connect and interact with DeepAR services.
How to Obtain a License Key?
1. Signing up
The first step is to sign up and create your DeepAR account on our developer portal. If you haven't done that by now, you can do it here: DeepAR Sign Up.
2. Creating a project
After you've signed up and logged in to the DeepAR, you can create your new project. Go to the Projects and click the + New Project button to create a new project.
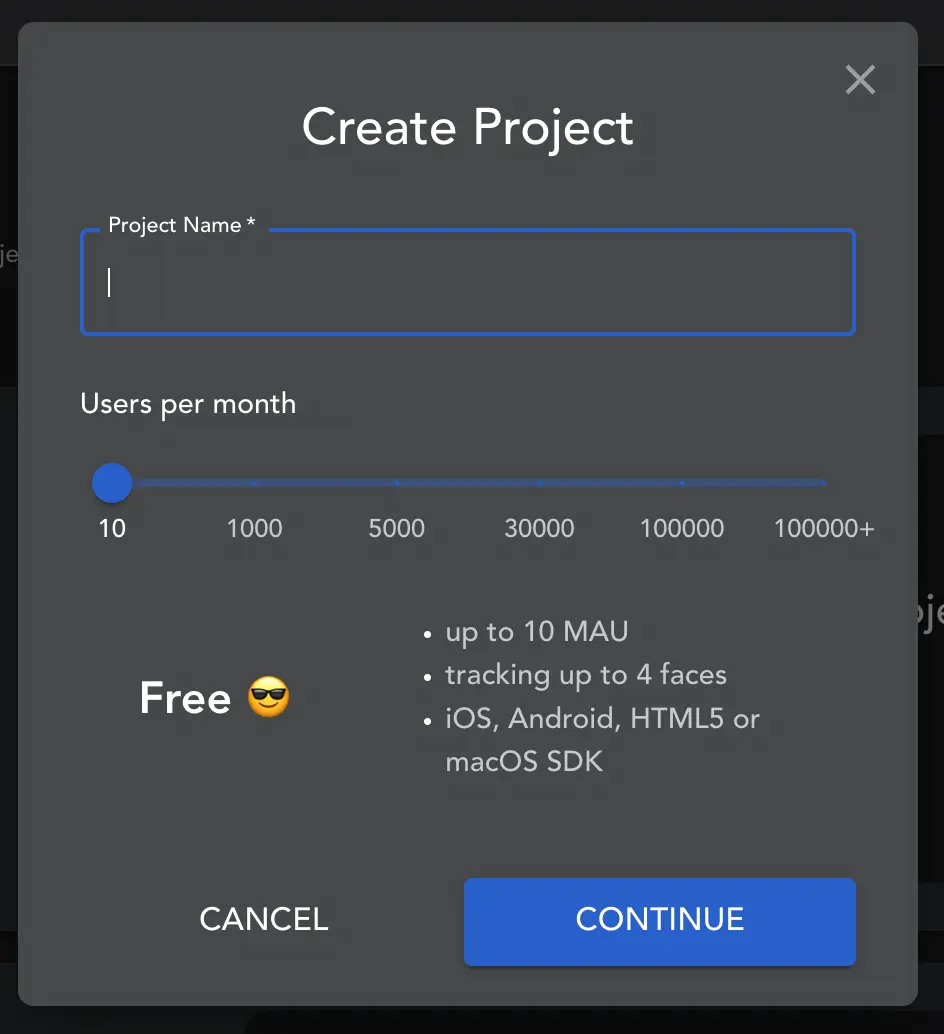
A slider with all available subscription plans will appear. Depending on your needs, you can move the slider and choose a plan that suits you best.
The main variable that determines the price of every subscription plan is MAU - Monthly Active Users. This number represents the number of unique users that use your app every month. You can change MAU and your plan at any point.
Also, here you can choose if you want to have your subscription charged monthly or annually. The in-app watermark is removed only in paid plans.
Next, choose the project name, review and check the terms and conditions and create the project.
3. Adding your app
After you've successfully created your DeepAR project, you now need to add a new app to it. You can choose between iOS App, MacOS App, Android App and Web App.
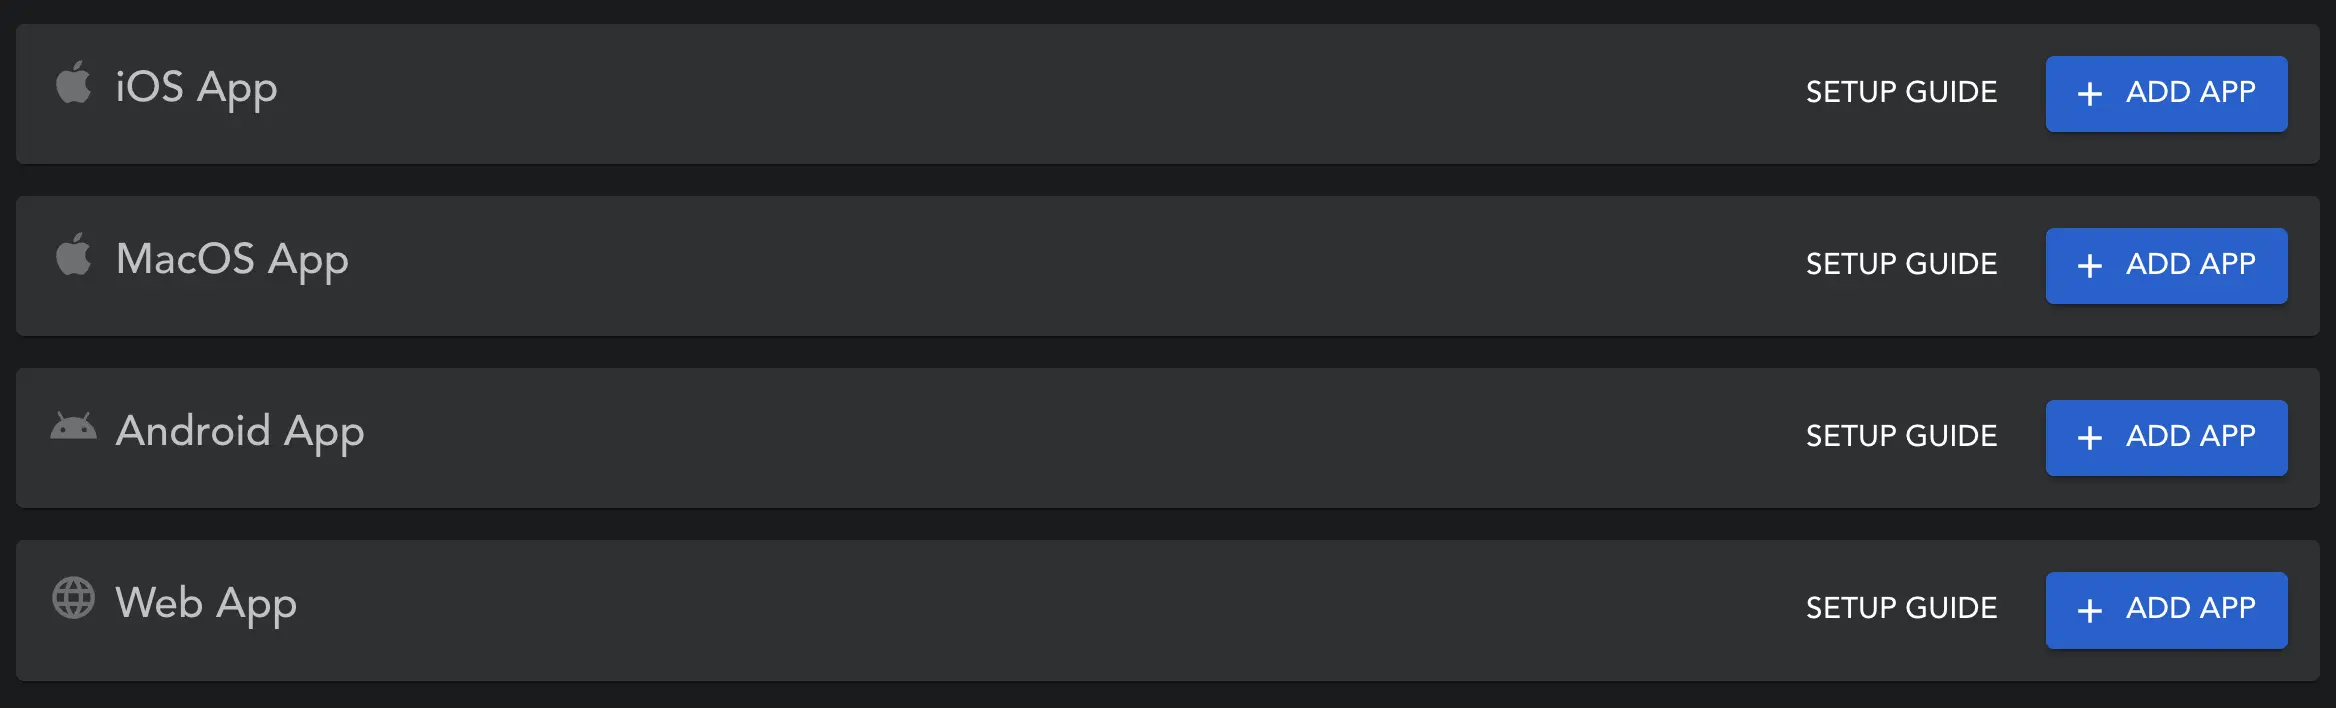
To add a new app to your project simply press + ADD APP button for the platform that you decided to use.
For each of these Apps you will need to enter App details specific for each platform.
3.1 Adding iOS or MacOS App details
For iOS or MacOS App you will need to enter Bundle ID. You can reed more about Bundle IDs here.
3.2 Adding Android App details
For Android App you will need to enter App ID. You can reed more about App IDs here.
3.3 Adding Web details
For Web App you will need to specify domain name under which you plan to deploy your app. Be careful to enter only DOMAIN NAME and leave out any protocol name (like https) and additional paths.
For example, if your app is running on https://www.domain.com/application/ar, the domain you need to enter is www.domain.com.
4. Generate license key
Once you've filled out your app details, click on the Continue button. Afterward, you should see your App key, which you can copy by clicking on the key icon or by choosing the Copy SDK Key option.
Remember to keep your license key confidential. Do not expose it in public repositories or places where unauthorized users can access it.
Integrating the License Key in Your Project
To see how to use your license key inside your project you can follow one of our demo projects: