Watch and Wrist Try-On Quick Setup
Learn how to set up a watch try-on effect in DeepAR Studio
Download tutorial files to begin
Download filesThe basic setup for a watch try-on effect is as follows:
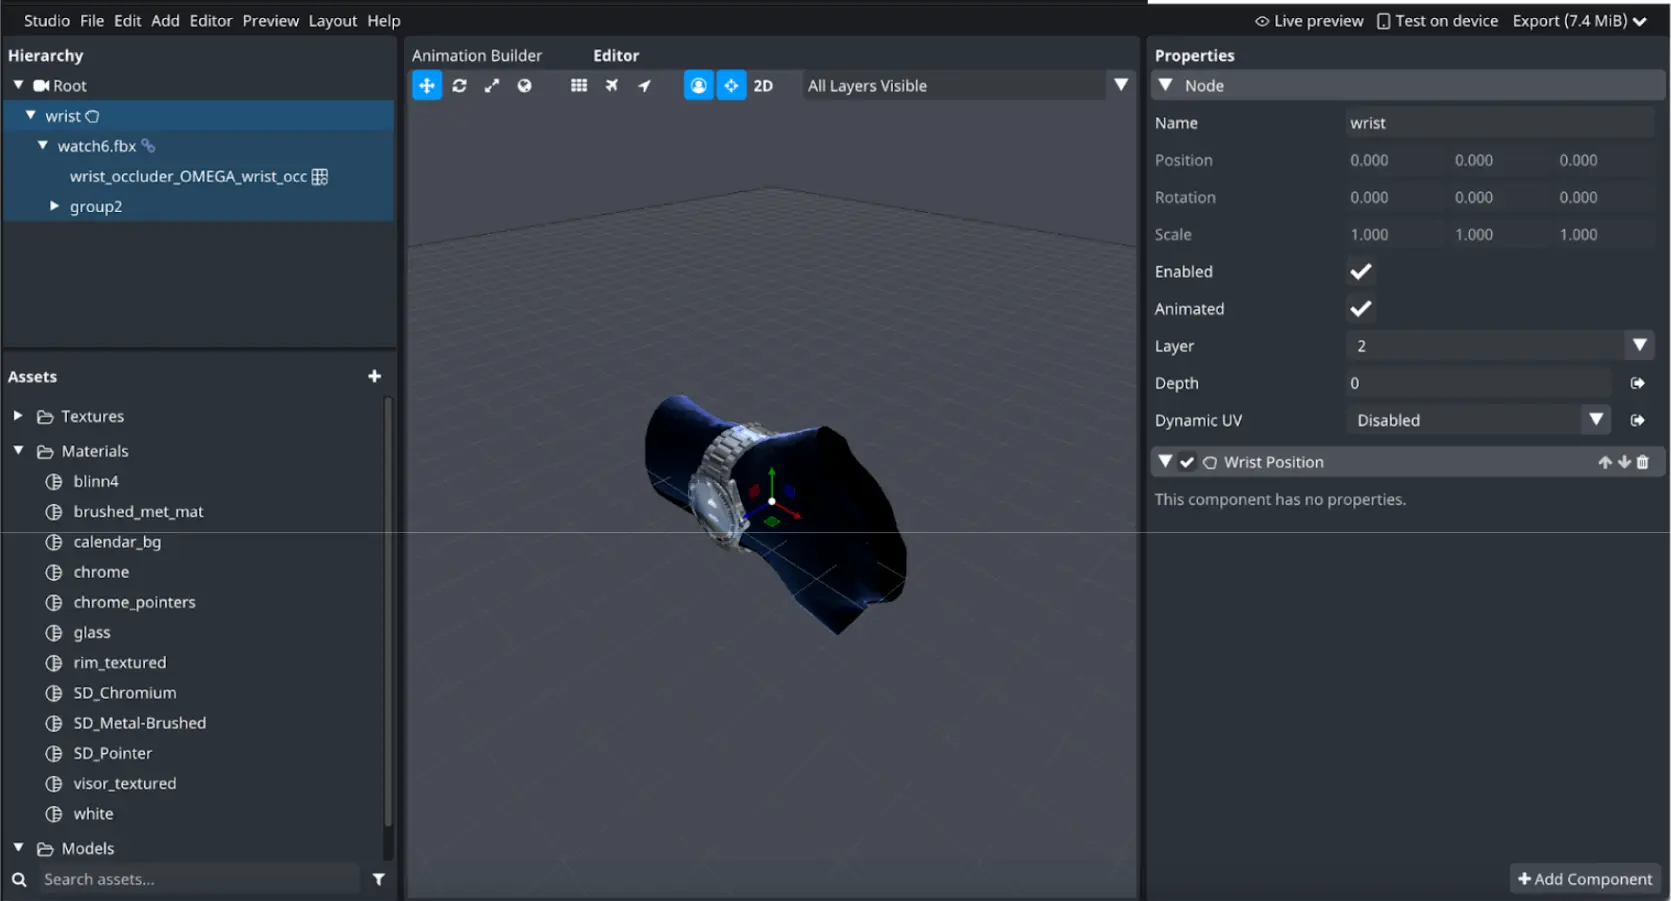
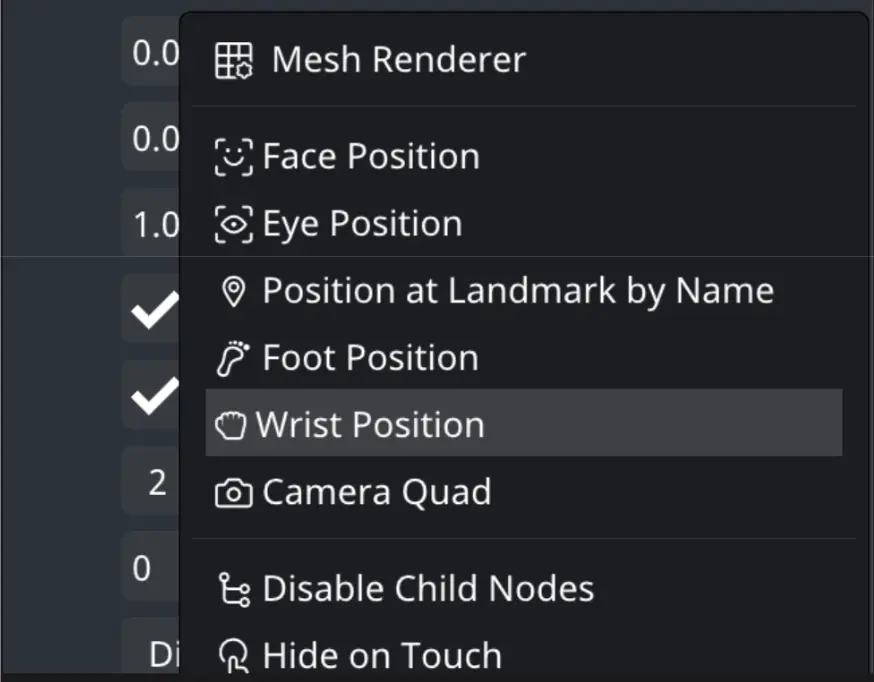
Starting from an empty effect, switch to Camera space, add an empty node named ‘wrist’, and attach a Wrist Position component to this node.
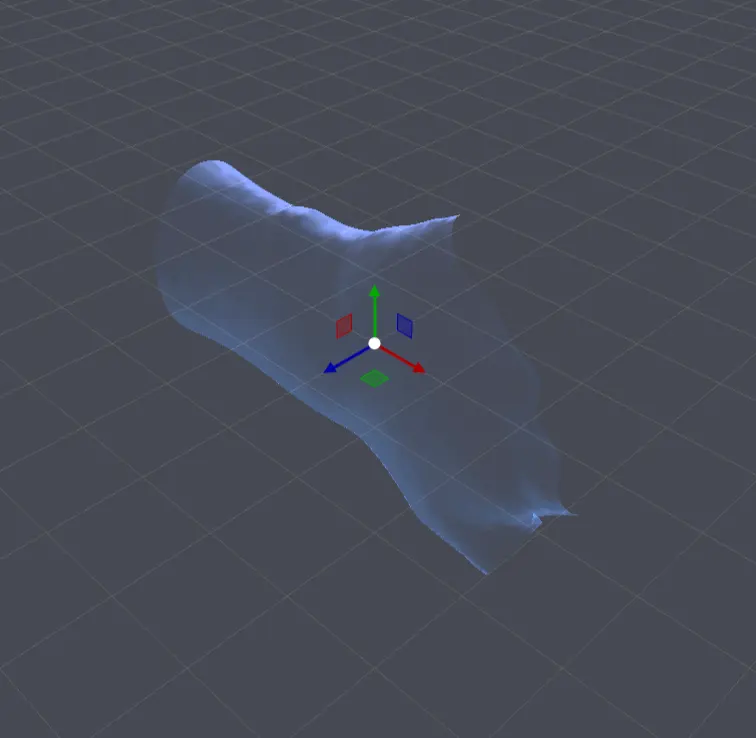
This will show you the wrist guide in the editor:
Now you can add your watch model as a child of the wrist tracking object. The fbx model provided in this example is already scaled. If you are using your own model scale it according to the wrist guide.
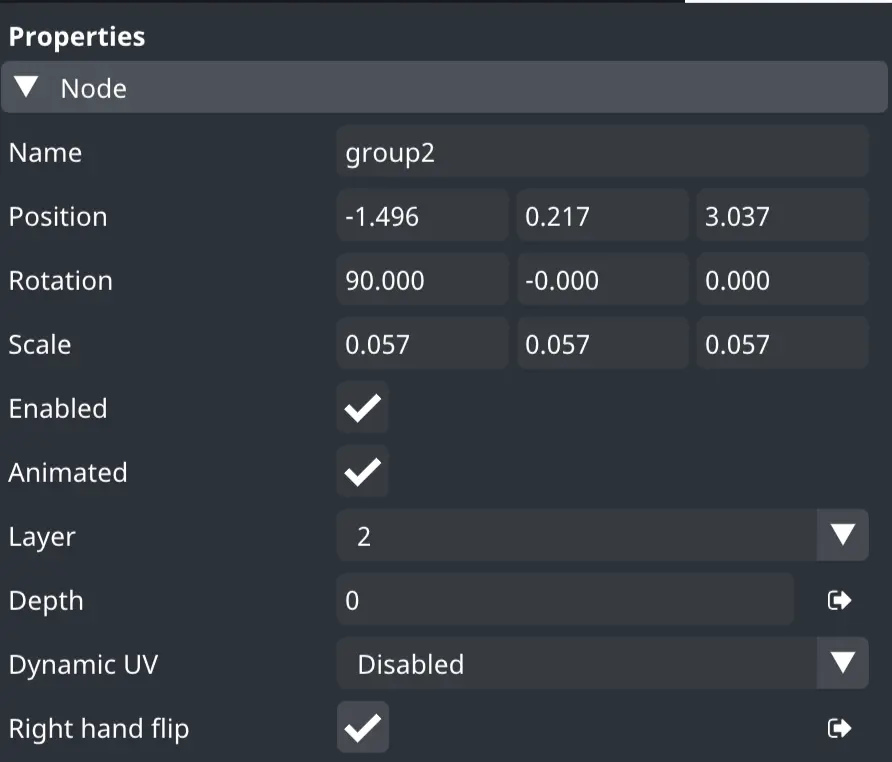
We want to make sure the watch appears correctly on both arms. To achieve this, we have added a Right hand flip property to the node properties panel.
You will want to add this property on a node that contains all of your watch geometry except the occluder. In our example this property is enabled on the group 2 node.

The FBX file we will be using already has an occluder included in it, however if your model doesn’t, you can find a Wrist Occluder Mesh from the Assets Menu.
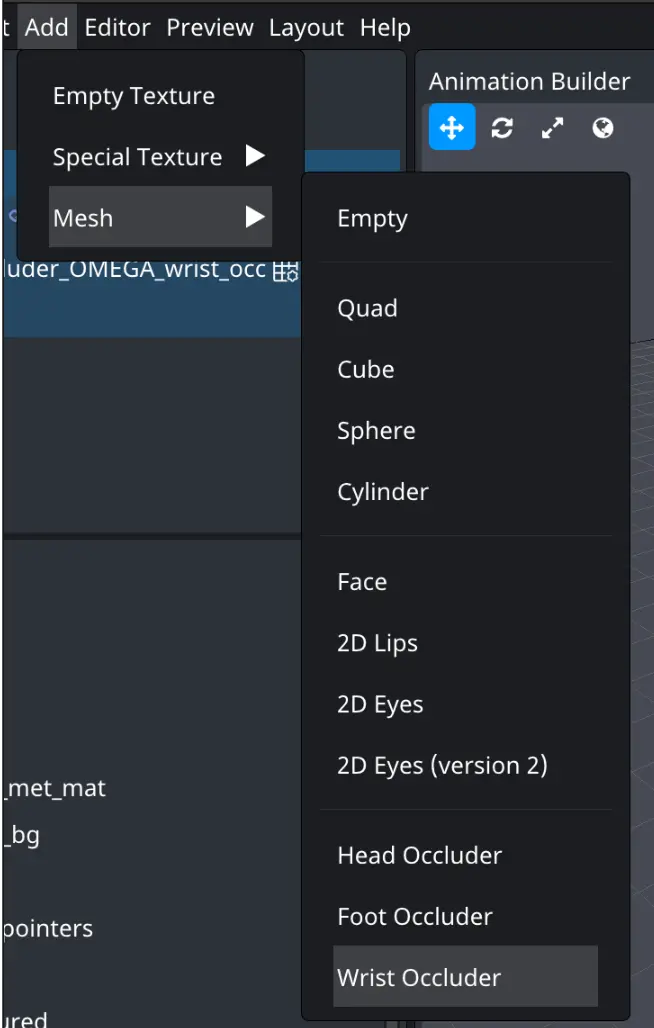
If you need the occluder, you can drag it into the scene as a child of your Wrist Tracking Node and set up the Occluder before moving on to the next step (for more information, see Creating a Basic Occluder Doc).
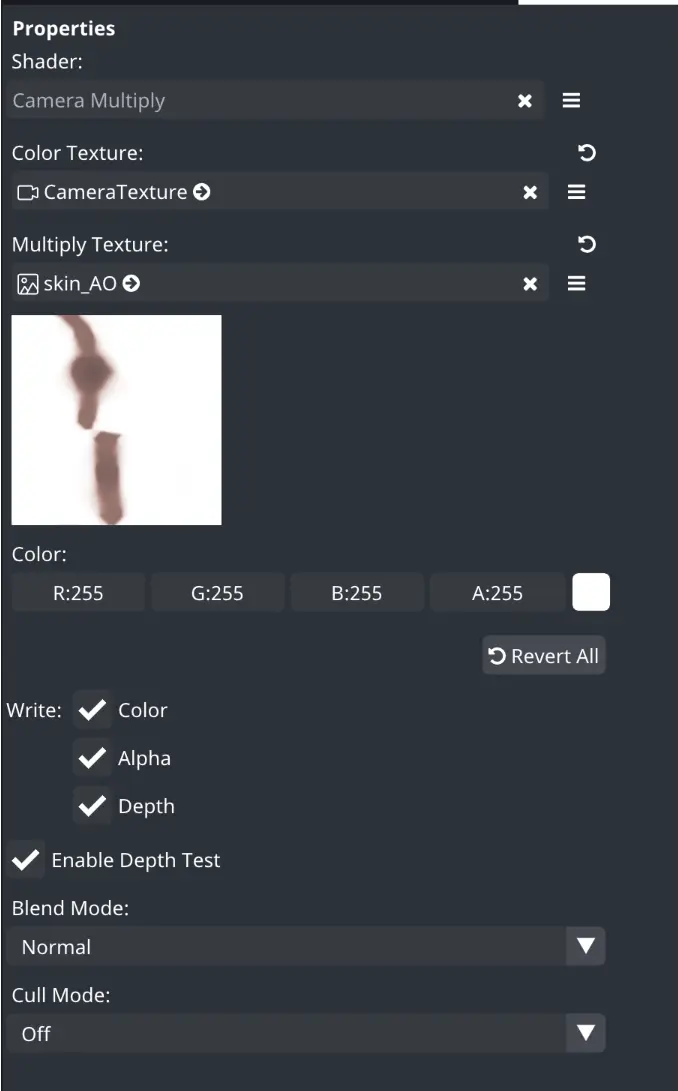
In the example project we also have a shadow texture to use with our occluder material.
The setup for a single object that provides visual occlusion as well as shadow rendering can be seen in this screenshot:
Next, import the textures and set up the materials for your effect. In our example we primarily use variants of the Matcap shader, a PBR shader is also available.

You can learn more about texture import and material setup here.
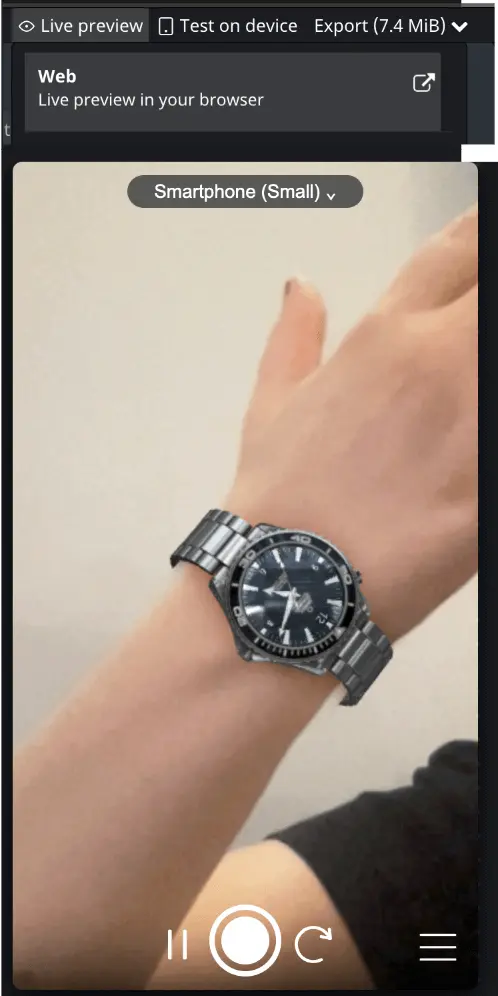
To preview the wrist tracking effect start the Web preview or generate a QR code to test on a mobile device using the Test on device option: